
CrazyBiker
Wizard
How To: Roth AIS Block Off Plates Installation & PCV Elimination
To summarize: This is a PITA install.
Why do it? On my last group ride, I was extremely irritated by the popping on deceleration into curves from 120mph to 40 mph. So I had to do it. Another advantage I see is that backfiring into an expensive exhaust system probably isn't the best thing for it's longevity. So from that perspective it might be worth it to protect your investment.
I went with the Roth AIS Block Off plates since they were the cheapest ($22.73 shipped) and IMO best looking. Roth Industries — Smog Plates
From Roth's website:
Reasons to also do the PCV Elimination Mod i.e., Positive Crankcase Ventilation to Atmosphere:
You can change/inspect your spark plugs at the same time. Removing the AIS plumbing greatly simplifies this job.
To summarize: This is a PITA install.
Why do it? On my last group ride, I was extremely irritated by the popping on deceleration into curves from 120mph to 40 mph. So I had to do it. Another advantage I see is that backfiring into an expensive exhaust system probably isn't the best thing for it's longevity. So from that perspective it might be worth it to protect your investment.
I went with the Roth AIS Block Off plates since they were the cheapest ($22.73 shipped) and IMO best looking. Roth Industries — Smog Plates
From Roth's website:
- If you are using your motorcycle on a closed course (racing, track days, etc.) you will want to remove all unnecessary equipment from your bike for reduced weight and ease of maintenance.
- To get an accurate Air:Fuel (A/F) ratio when dynoing the bike. The air injection system pumps fresh air directly into the exhaust stream in order to burn off any unused fuel. Unfortunately by doing this the A/F ratio is thrown off by the extra fresh air in the exhaust stream. By removing the air injection system you can achieve an accurate A/F ratio.
Reasons to also do the PCV Elimination Mod i.e., Positive Crankcase Ventilation to Atmosphere:
Items Needed:
- A breather filter relieves your engine of positive crankcase pressure and recycled carbon vapors from your engine, which cause loss of throttle response due to build-up on the throttle body. The Breather helps resolve that problem, by venting the vapors into the atmosphere.
- The hot fumes from the crankcase are routed back into the airbox making for an higher intake temperature. I would imagine the colder the air - the better for power hence vent the crankcase to the atmosphere and put a steel mesh reusable filter to accumulate any oil that comes through. So far mine is clean. One drawback is I now have a hotter seat.
- AIS does it the other way round to burn the unburnt fuel at the exhaust ports of the cylinder heads by injecting fresh air. Cooler air goes in through AIS vent in left of the airbox base on the inside and hotter crankcase air comes in through the vent on the back of the airbox base on the outside.
- 5mm Allen Key or Ratchet Wrench that can go in tight spaces between the engine head and frame
- Mat to sit down on the ground. Without this I would have become "The Humpback of Nashville""
- Roth AIS Block Off Plates
- 1/2" Vinyl cap from Lowes/Home Depot for Crankcase ventilation mod.
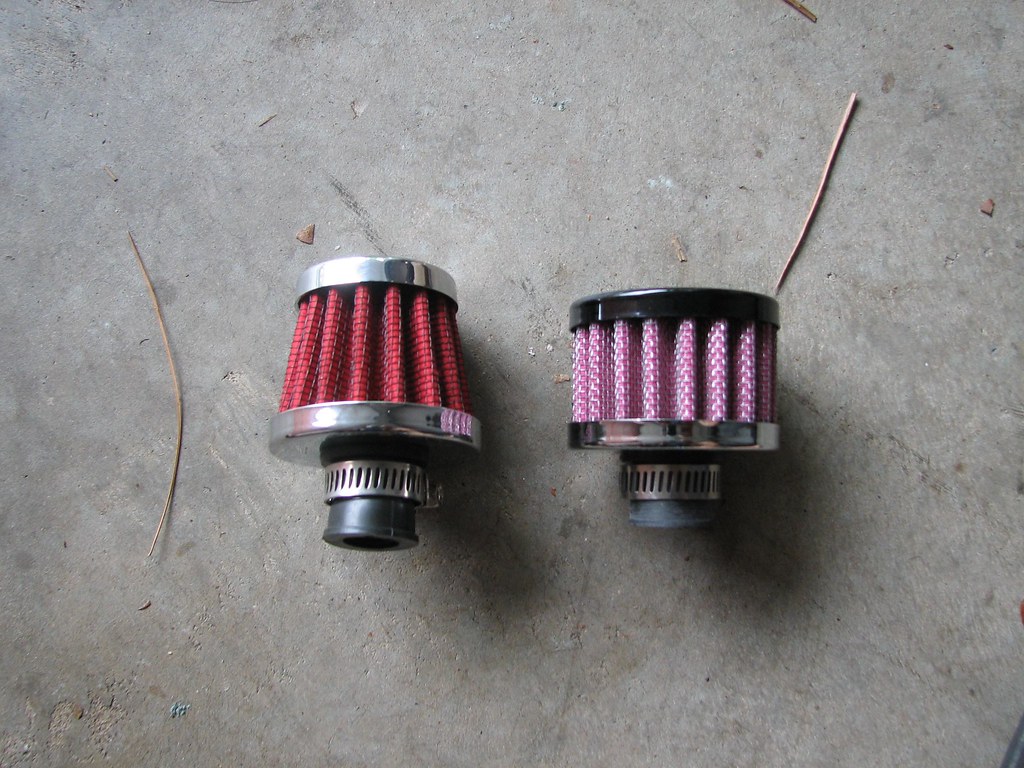
- 12-16mm Breather filter from advance auto/autozone/pepboys, etc.
You can change/inspect your spark plugs at the same time. Removing the AIS plumbing greatly simplifies this job.
- Lower the radiator.
- Remove the screws at the bottom and the left side.
- Slide the radiator to the right and lower.
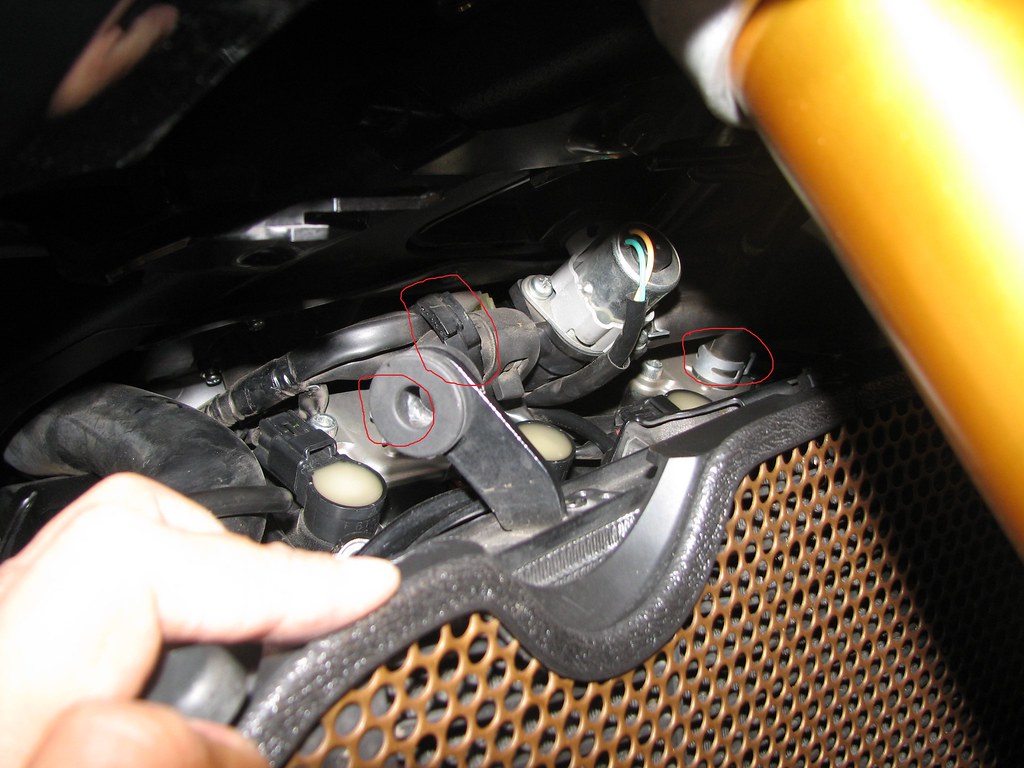
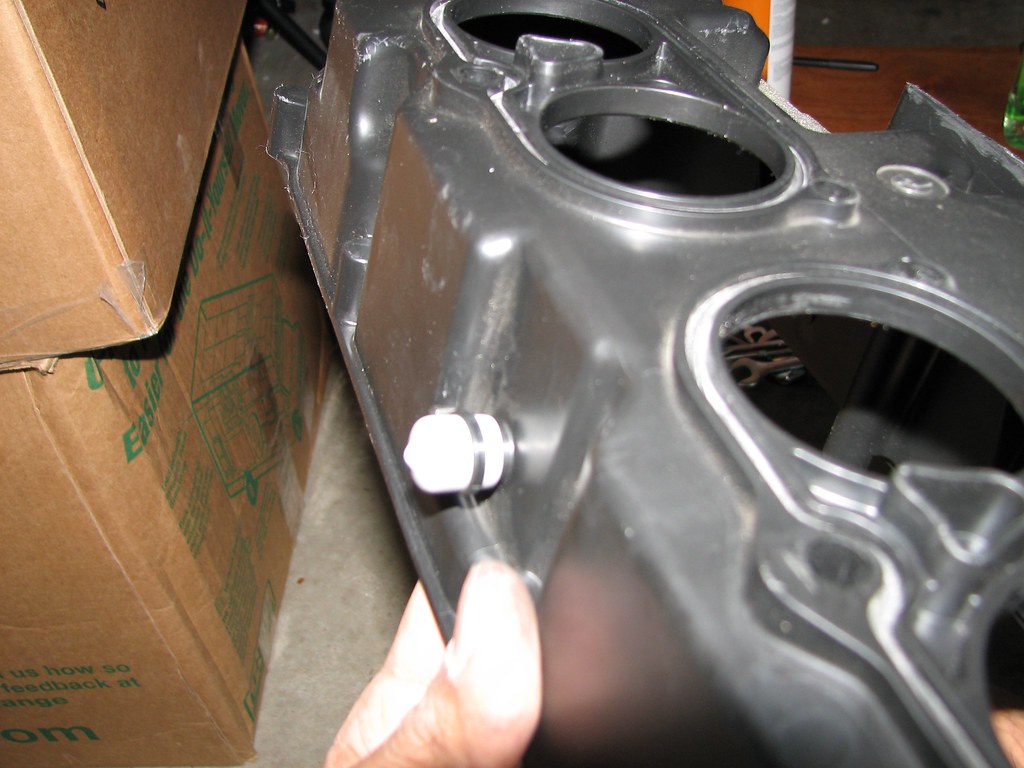
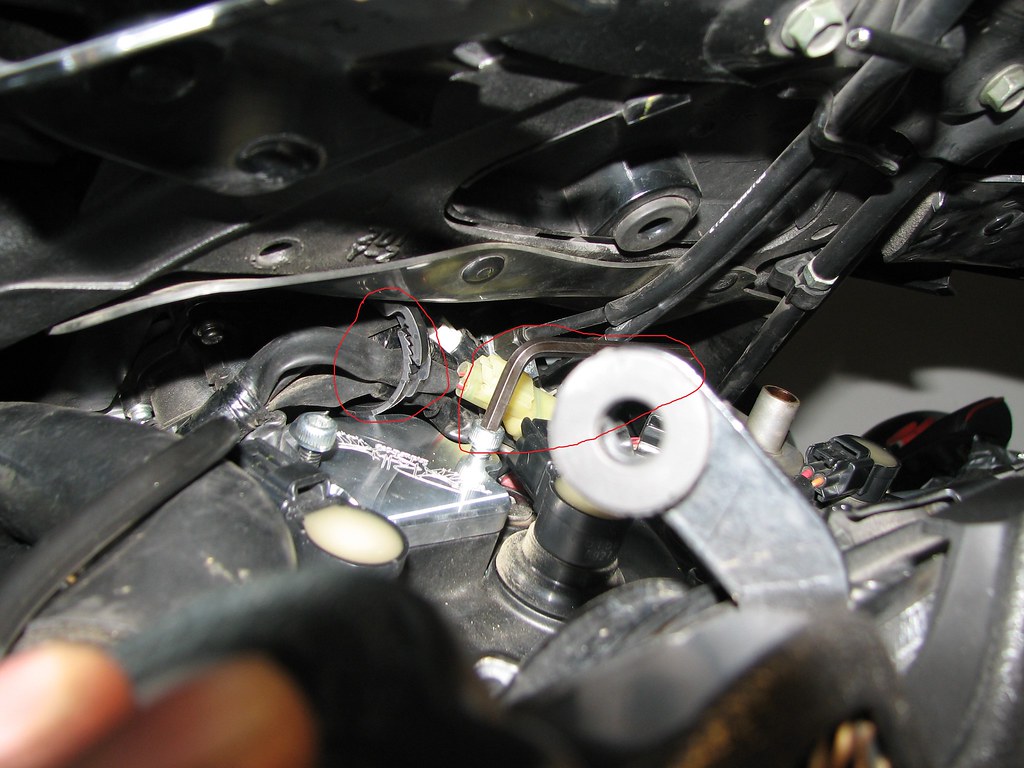
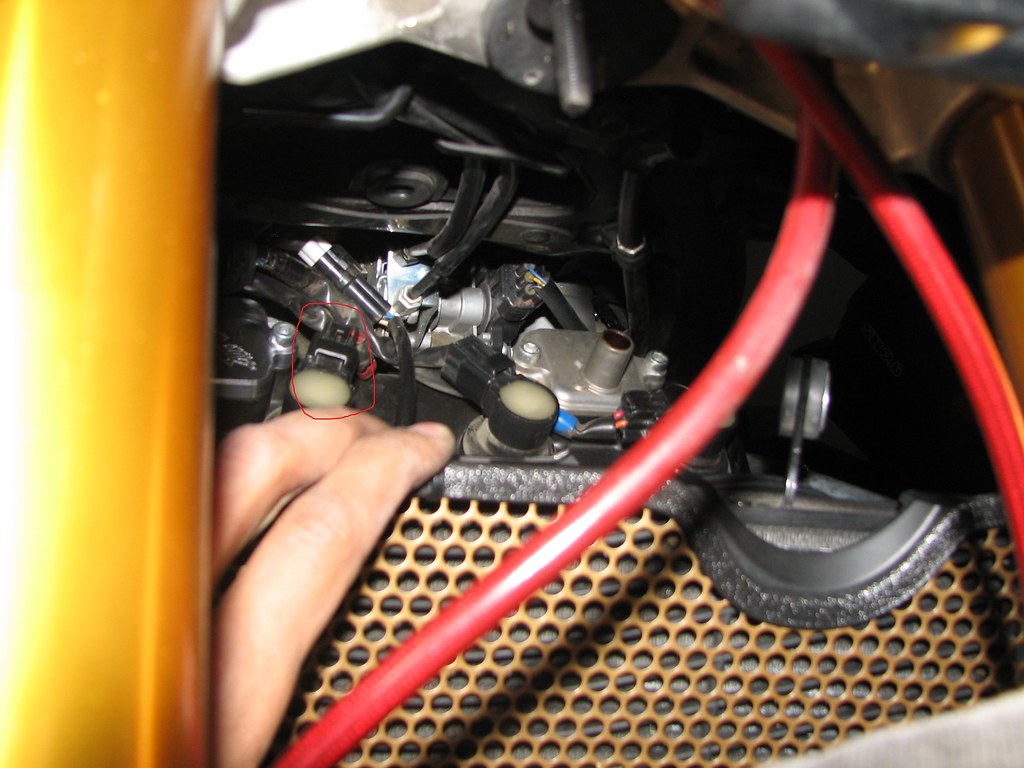
- Block off the AIS vent as shown.
- I didn't use the black cap that came with the Roth kit since I thought it was not that tight.
- I got a 1/2" cap from Lowes which was pretty tight.
- I used hand sanitizer to slide it over the vent so that it is tight once the sanitizer evaporates
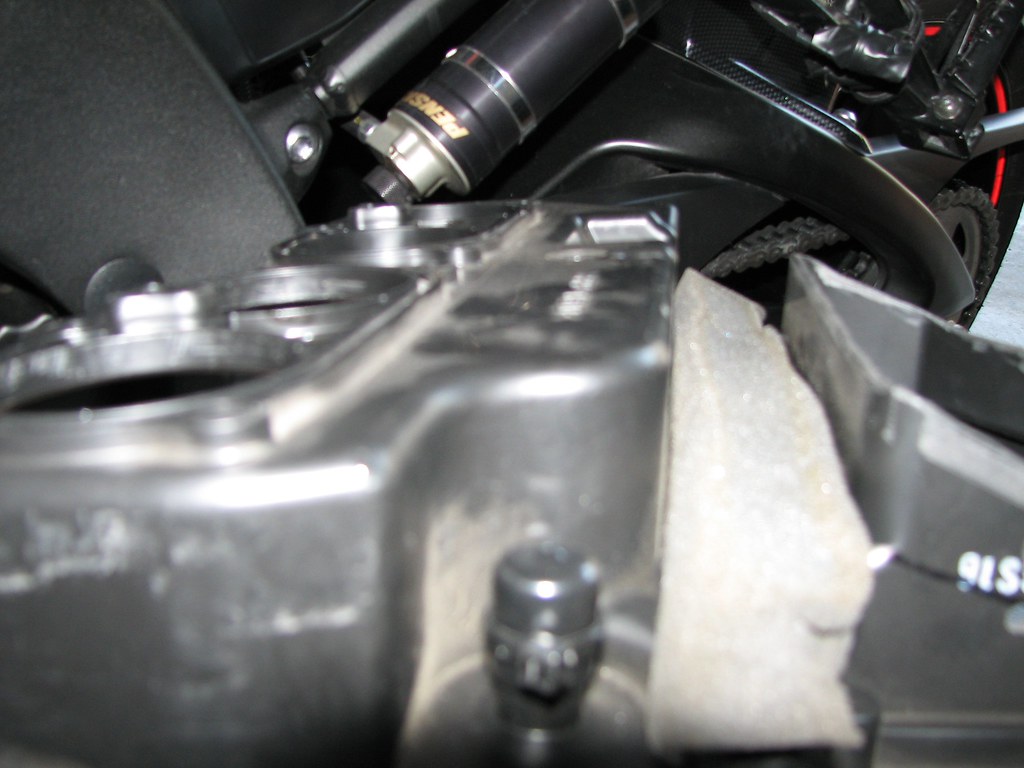
I also took the chance to do the PCV elimination and blocked the inlet in the back of the air box. I routed the hose towards the back near the brake fluid reservoir and put a breather filter over it. Get a breather filter with ID of 3/8" to 1/2" at the slip on attachment.
Got a lower profile I got from ebay for $6 - APC brand 12mm to replace the $11 from advance auto.
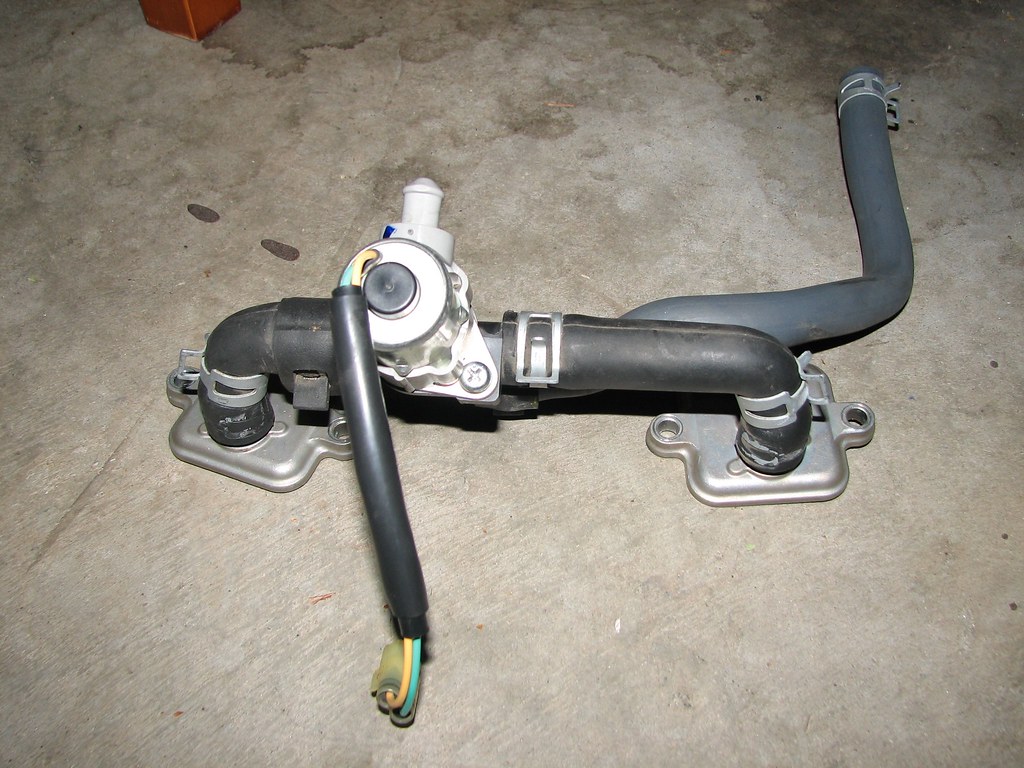
- Now remove the AIS hose plumbing from the top of the plates.
- This is a very important step because this enables getting to the plate screws easily.
- This can be done by loosening the 2 metal clamps over the hose junctions on the plates and removing the reusable zip tie.
- Remove the tube that connects to the bottom of the airbox on the left. It can be removed without removing the airbox. Just slide it down from below the frame after loosening the metal clamp.
- Wiggle the entire plumbing so that the grey tab comes out.
- You could put the tab back in so that there is no air vent. I chose to take it out.
This is the junk that came out.
- Use a ratchet wrench or an allen key to remove the plates. I will say if you plan to undertake this mod, do yourself a great favor and purchase one of these: http://www.craftsman.com/shc/s/p_10...rd=00947478000&prdNo=1&blockNo=1&blockType=L1 If that doesn't come through search for Item #00947478000. Also make sure you have a 5mm bit. Trying to do this with a regular 5mm allen wrench is a complete pain. It is tolerable with the mini ratchet.
- There is not enough room there to slide in a wrench due to which I had to use an allen key. Ratchet wrench will save a lot of time since you will not need to remove it until the screw is out.
- This is a painful process since there is only enough room for 1/2 a turn and the screws are tight and screw in almost an inch.
- Also reinstall the reusable zip tie that was removed so that it clamps the plug wires and the disconnected AIS connector. Bundle in as much wires as possible as shown in the picture.
- Now install the Roth plates
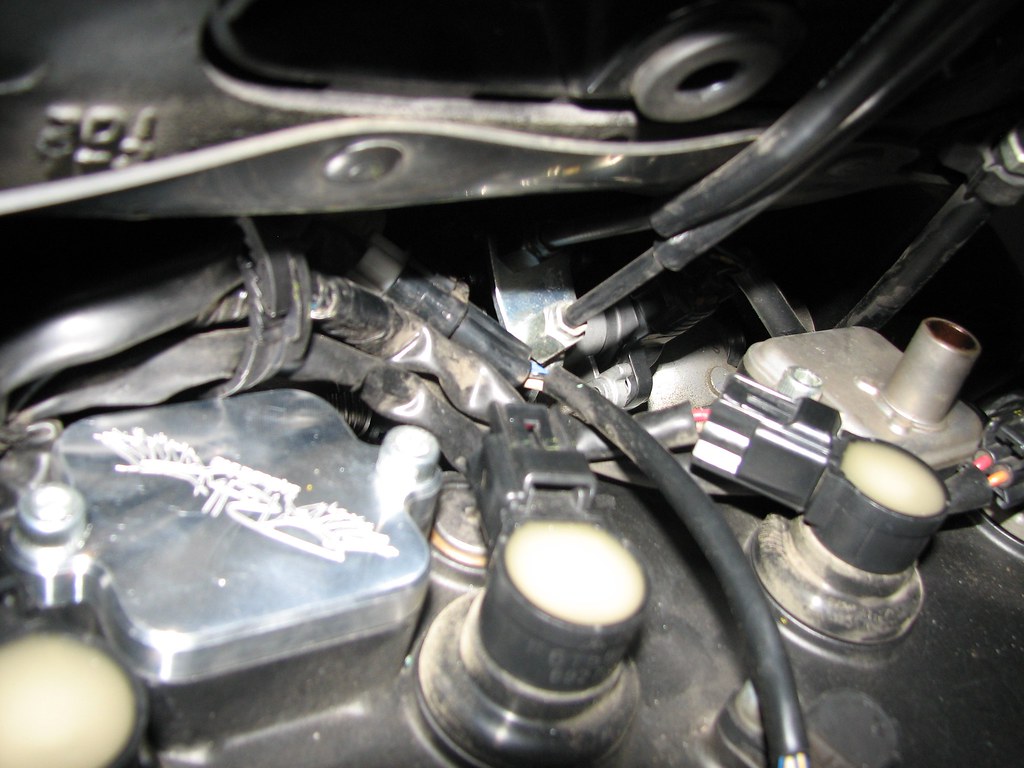
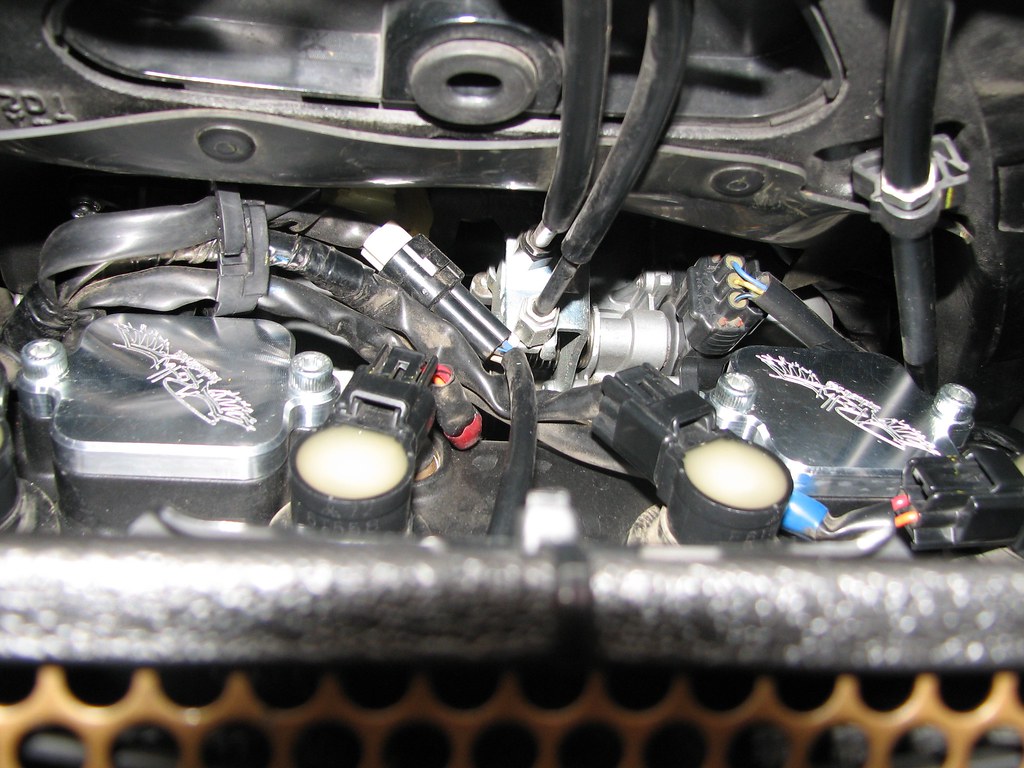
- Use this chance to orient the ignition coils correctly
- Reinstall the radiator.
You will need some force to push it up and slide over the tab on the right side.
Last edited:
