My VX800

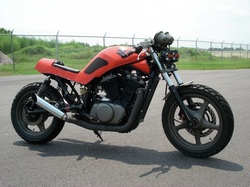
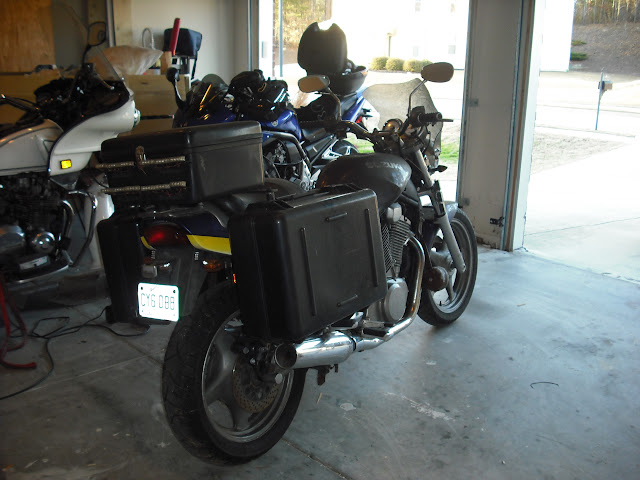
is finally at home in the garage after a couple of years sitting in my friends back yard. He helped me to put hard luggage on it a couple of years ago when my brother was doing funeral escorts and I was hoping to do them too. A little politics and my brother got out of it so the bike just sat.

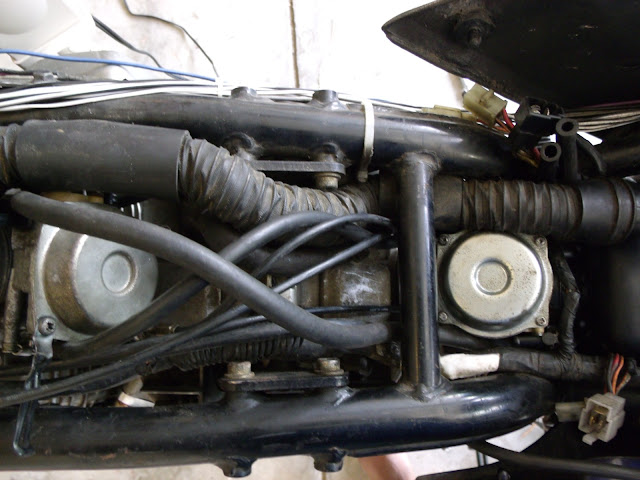
He said it was in pretty bad shape so I was imagining all kinds of rust and stuff. It's mostly cosmetic so next year I'll spend some time getting Sam back on the road and maybe doing something other than restoring it back to it's normal look.

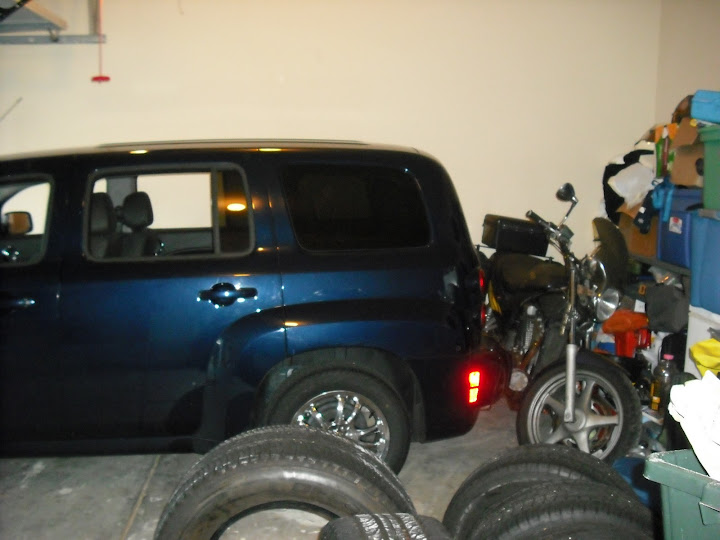
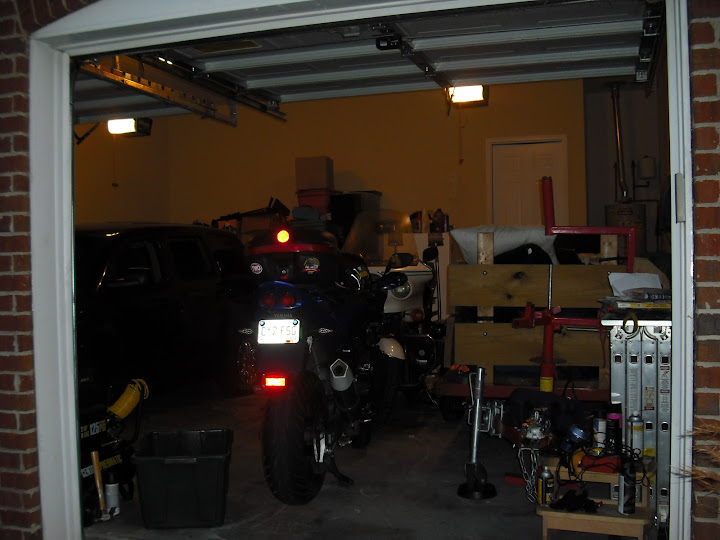
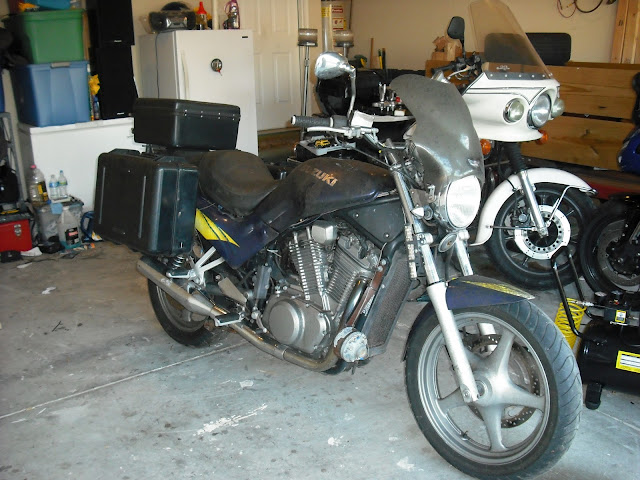
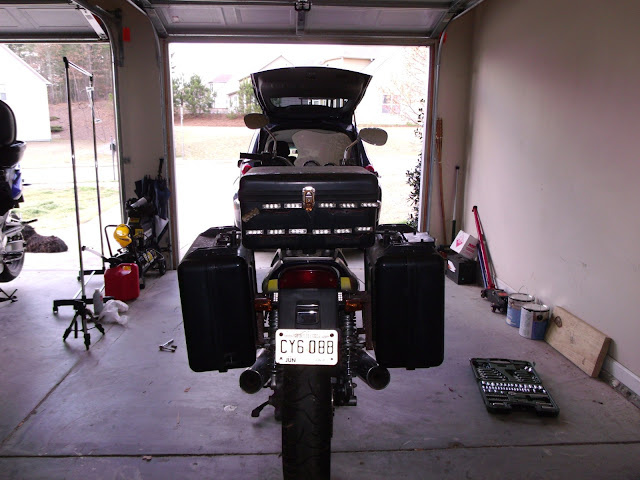
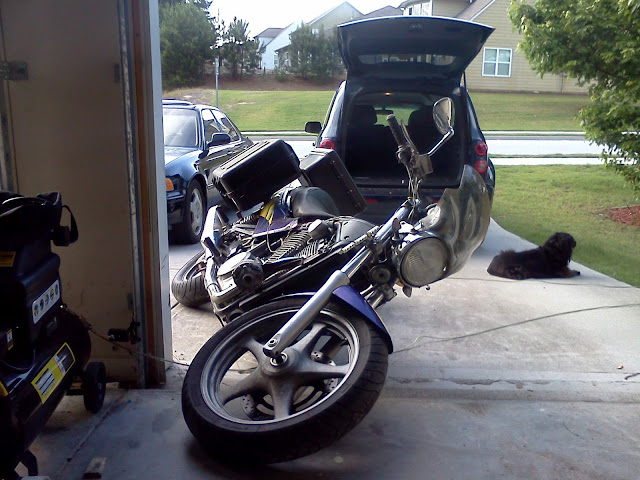
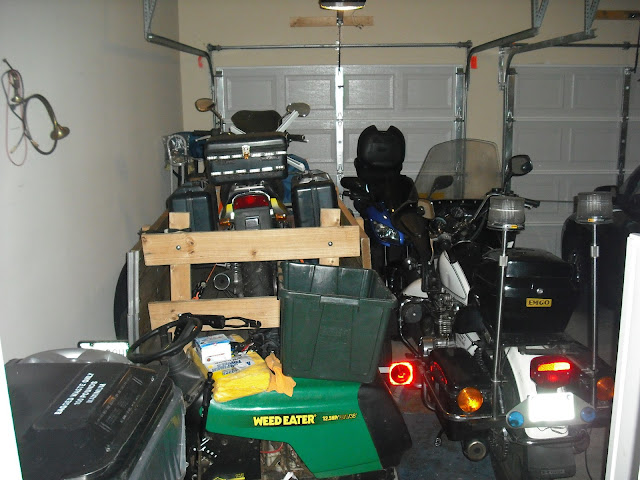
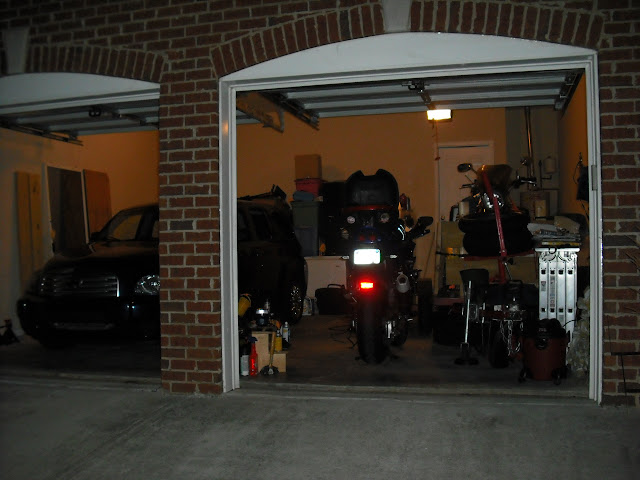
Sam is still sitting on the trailer in the garage so I can't really take any pics of it. I probably won't be getting him off until next week while I study exactly where to put him. With Baby, Big Girl, Red Wagon, and Pedro, the 2-car garage is pretty full!

dscf5483.jpg


dscf5476.jpg


I'm trying not to get ahead of myself with planning stuff for this bike. My goal is to get it running again then work from there. Larry says I should part it out but no body seems to want these parts so I think the bike has more value whole. If I can't get it running that's another story but I'm looking forward to the challenge!
 
I'm sure with some fresh gas, a new battery and a good carb cleaning you'll get it running again. It'll make for an interesting project ;)
 
Took some baby steps today. We got Sam off of the trailer!
dscf5517.jpg


It's windy and cold so no real work done yet. We had to move some stuff around but at least the trailer no longer has a bike on it.

Not much different from before.
dscf5520.jpg
 
Looking rough

Now that he's off the trailer, I took some photos of him today after I stole his risers to use with my gen2 upper.

dscf5526.jpg


When I took him over to Larry's, the plan was to make him an escort bike, like the one in the background, so I could do funerals and such with my big brother. Unfortunately that deal fell through so now I've got to take all that sh*t off and think of something else to do with him.

I mean, I've toured with him (cross country in 04) but he ain't a touring bike! After that trip, he almost got traded for a ZZR1200. If I hadn't been afraid that I could handle that bike, he'd've been gone. Well that and I got sick.

dscf5523.jpg


The plan is for my nephew to help me work on him. He's taken shop classes and this'll be the perfect thing to keep him interested and out of trouble. Not that he's been in any trouble but, hell it's just a saying right? He said it won't be so bad once we clean him up. I'm thinking about getting him running but no move toward that has been made at the moment. Just the riser theft.

I told my nephew if he screwed up one little tiny bit, no motorcycle for him. I'm really concerned that he's not mature enough for a bike anyway and am hesitant to give it to him until I see some signs of him heading that way. He is mature enough to work on it though and I'm hoping with the proper incentive, he'll get there. His father (my big brother) says I should be prepared to sell the bike! :ugh:

Like all teenagers (He's 17), he isn't as bad as we think he is. But sometimes dealing with him is worse than :banghead:

The other sides of the dirty bike:
dscf5524.jpg


dscf5525.jpg


Some of those LEDs will go on big gurl (the kz1000p in the back ground) once my brother takes her to get her engine work done. She apparently needs new engine seals.

I also have an excuse to buy a welder since Larry welded the speaker onto the bike and it's got to go.
 
Did something finally

Besides think about what to do with this bike. I got a new battery and tried to figure out why it wouldn't start. When I picked it up from Larry, he said it didn't have any gas in it and he didn't know where it went. I figured it wouldn't hurt to dump some seafoam in it and a little gas to see what would happen.

[ame="http://www.youtube.com/watch?v=dKrZ9C6QY1g&feature=g-upl&context=G2740837AUAAAAAAAAAA"]Filed under: I should know better[/ame]

Nothing. It turns over strong but it ain't getting no gas. Hmmmm? So I put it away to think about what to do next. You guys that know this stuff without thinking make me so jealous!

I went out later and smelled....varnish! Yuck. Now I know what to do. Drain the damned tank!

When I went to move the bike I noticed
GEDC0121.JPG


He's finally outta bed...
GEDC0090.JPG

and gave him a good look see to discover where that stain was coming from. I had a good idea based on the smell that was filling the garage.:eek5: I think I know where the gas is going and I ain't no mechanic!:flip: I took a closer look at the carbs.
GEDC0120.JPG


Is that what a stuck float looks like?
:thinking:

I went ahead and pulled the tank. Larry said that he hadn't left much gas in it and didn't think there was any left in there. I hadn't seen any when I put the little in to try to start it yesterday either but after I looked up how to drain the gas tank, I got this

GEDC0105.JPG


About a full gallon's worth. I didn't put a gallon in yesterday. :looseit: That's what I get for listening to the mechanic. No matter how much of a good guy he is, I shoulda checked closer.

I pulled the petcock to drain the tank because it didn't just come out when in either position like it did in the guy's video I watched.
GEDC0106.JPG


I wonder if anything could get through there? :ugh:

I transferred the varnished gas/seafoam mix to an old gas can (that I couldn't find yesterday when I was looking for it to go get gas. I had to pay $12 for a new one :cuss:) and discovered this in the bottom of the bedpan.

GEDC0113.JPG


GEDC0114.JPG


Maybe I should call it a drain pan now because I doubt anyone want to use it for what the hospital gave it to us for.

The picture I wish I could have gotten? Prince's lead in my back pocket while he followed me around. He cried when I tied him to the tree because he couldn't see me. Ebony lay there with him but he wouldn't shut up. I tried to get her to take the pic, but without thumbs well it didn't work. Prince loves me more than I deserve.:unworthy:

So my next step is to learn how to clean out the tank then find out what I need to get the rust out and add that to the shopping list. In the meantime, the gas tank (is much lighter empty!) is on the patio airing out. I figure I'll share the varnish smell with my neighbors!

I also need to clean or replace that petcock. The tank has burn damage on it so I guess I'll strip it down to the metal at some point and think about paint. I'm going to try to stick with purple but I'll lose the neat factory graphics that no other VX has. :cry:

I almost forgot: what do I do with that gas can full of varnished/rust/seafoamed gas?
GEDC0112.JPG
 
Last edited:
Rust removal with electricity :flash:

This evening, I set up the electrolysis on the gas tank. The first thing I had to do was drain the vinegar/salt solution. A quick peek inside revealed it was working! :cheerleader:

After I rinsed the tank:
GEDC0169.JPG


There's still some something in the gas tank that I can hear but can't see. I think the electrolysis will attract those somethings.

You can get the A&H Super Washing Soda at Ace or Walmart with the detergent boosters. I went to two stores before I found it at Ace for about $1 more than at Wally world.

Once back home, I gathered the necessary items:
GEDC0170.JPG


GEDC0171.JPG


The A&H Washing Soda, battery charger, hanger shaped to fit inside tank without touching anything, wood block to hold the hanger, and semi :)yes:) rusty tank. I was going to set it up in the garage but the darned thing is so full of junk, I had no where to put it.
GEDC0172.JPG


Then I remembered I don't have anyone to complain about the tank being in the house so after I'd put two gallons of Washing Soda charged water in the tank, I moved my setup inside. :D

Prince approved. It'd be easier for him to keep an eye on it there anyway.:waiting:
GEDC0173.JPG


I recently got a new camera. It's a "bridge" camera, the GE X500. It's got the one feature I was missing from my ebay bargin fuji P&S: time lapse!:cloud9: So you know I had to test it! Here is a time lapse of me adding the other 3+ gallons of A&H Washing Soda charged water and setting up the battery tenders. You can see I had plenty of supervision.

[ame=http://www.youtube.com/watch?v=khODzeXHI0M&feature=g-upl&context=G2740837AUAAAAAAAAAA]Made with OpenShot in Ubuntu[/ame]

I had to change battery chargers because the bell one wasn't lighting up. I used a die hard one that my brother gave me years ago and I never thought actually worked. At first I had it set for 6 amps but it was making :eek5: noises so I switched it 2 amps. No more noises :D

I don't know how long it'll take on the 2 amp setting but I have plenty o time.:shine:
 
Okay Patrice, disregard my post in the other thread. I'm onto what the whole electrolysis thing is all about after seeing this thread. That's pretty cool and I'm with Johnny! I can't wait to see the results! Cool thread. I hope you keep it going to the end of the rebuild. I'm looking foward to the carb rebuild portion!! :tup:
 
I cant wait to see how well this works. If this works it is the coolest post of the year. I'm really really excited to se the results.

Me too. I was surprised to see how well the vinegar test worked :jaw drop: and am very optimistic about this. I have to stop myself from checking the anode every other hour so it can do it's thing!

Okay Patrice, disregard my post in the other thread. I'm onto what the whole electrolysis thing is all about after seeing this thread. That's pretty cool and I'm with Johnny! I can't wait to see the results! Cool thread. I hope you keep it going to the end of the rebuild. I'm looking foward to the carb rebuild portion!! :tup:

It's alright, I should have put a link to here in that post. Pulling the carbs is the next step and I will try to get to that this week. Maybe that'll keep me so busy I forget to peek in the tank. :waiting:
 
Mini update. 24 hour progress...
GEDC0202.JPG


What I wiped off of the anode
GEDC0203.JPG


:jaw drop:

I ended up moving the negative clip from the back of the tank more towards the center. Seems to be working better configured that way. Here's a bad "action" shot
GEDC0205.JPG


Since this seems to be working so well, I guess I need to research how to coat the tank so it doesn't rust for another 20 years!
 
I can relate to your rusty fuel tank problems. I had an FJ1100 years ago with the same problem but nowhere near as bad as yours. However, my rust had actually come through the metal. This occurred at the lowest point of the tank moulding where water may accumulate. I fixed this permanently using a product called Cream (or Kreem?) First step - drain and flush with water. Second step - involves filling the tank with a solution of phosphoric acid which is dilute and comes with the kit. This is done twice if needed to etch the metal. No rust will remain. Final step is adding the Cream ( a sticky thick semi liquid) and rolling the tank around until the entire inside surface is coated. It creates a fuel and rust resistant layer top to bottom. Prior to this the rust pin holes were silver soldered or bronzed. After I felt it was fuel tight, the tank was touched up and was better than new. I suggest you take a really close look for rust at the lowest point on that tank. Auto shops used to stock this product but like most good things they may have banned it due to the mild acid involved (eco resons). Good luck with the repair (the silver/stainless look would suit your VX800!! ) Cheers.
 
I'm beginning to think most of what I saw in the tank was varnish and not rust. The anode isn't attracting much rust now.

GEDC0211.JPG


I guess it's time to study the service manual for carb removal and the internets for tank coating. This is happening a lot faster than expected.
 
So I took the carbs apart today to get ready to clean them:

Front (No. 2) Carb is a side draft one:
GEDC0274.JPG


GEDC0270.JPG


GEDC0265.JPG


It came apart pretty easily. The Rear (no 1) carb is a downdraft one and was a whole other story! It has a completely different float setup.
GEDC0278.JPG


If you look closely, you can see that the pillar that holds the float pin broke. At first I thought I did it but upon closer inspection it appears that a repair was attempted on it. I can't say which of the three mechanics that worked on my carbs did it, but I am happy that I have another set in a box somewhere. When I discovered this, I decided I use the other rear carb. I even had trouble getting the needle out of the slide
GEDC0280.JPG


We've got some carb cleaner somewhere that I need to find so I can clean what I got and get them back on the bike.
 
After a month and a half of laziness, I finally got back to the VX. Earlier in the week, I finished cleaning the inside of the tank and figured out how to get the outside clean. Good thing the tank was off of the bike when I was moving it to get it on the other side of the garage so that I could get going on re-installing the carbs because otherwise there'd be another dent in it!

IMG_20120515_190027.jpg


I really should take those damned bags off! Anyway, with help from my neighbor, I got him up then parked him for the night. I took dropping him as a sign that I shouldn't be working on the bike any more that day. :surrender:

The next day I went from this
GEDC0260.JPG


to this
GEDC0437.JPG


with a little studying of the Service Manual to make sure I had all the hoses connected right left to do. It turns out I did and the only hoses unconnected were the ones for the petcock and fuel tank. I still need to re-route one of the hoses from the fuel pump and connect one of the vacuum ones but I know where they are and where the go.

Doesn't make up for not riding today but at least I did something motorcycle related.
 
Back
Top