FZ1riderNY
Moderator
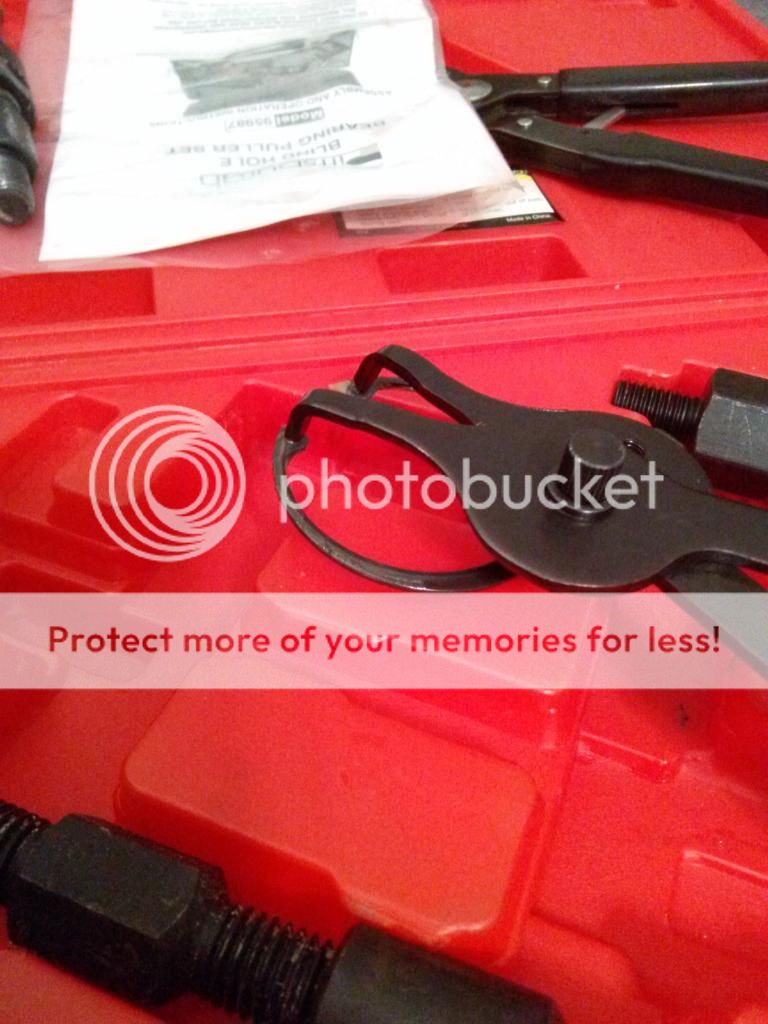
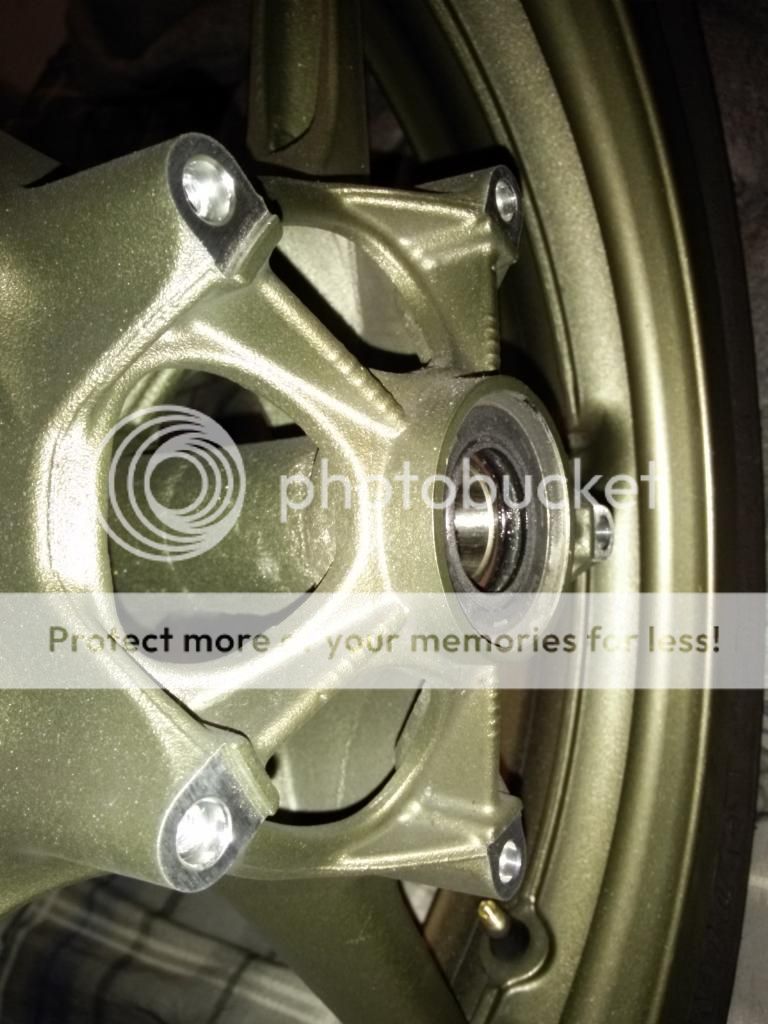
Many of you probably have run into the issue of trying to remove the rotor bolts from the GenII wheels. Lots of guys I've asked have had no issues at all but I found that removing these stock torx head bits to be a royal P.I.T.A. I had tried at first with heat from a torch but probably didn't heat them up enough to melt the locktite and wound up stripping one bolt and snapping two impact bits.
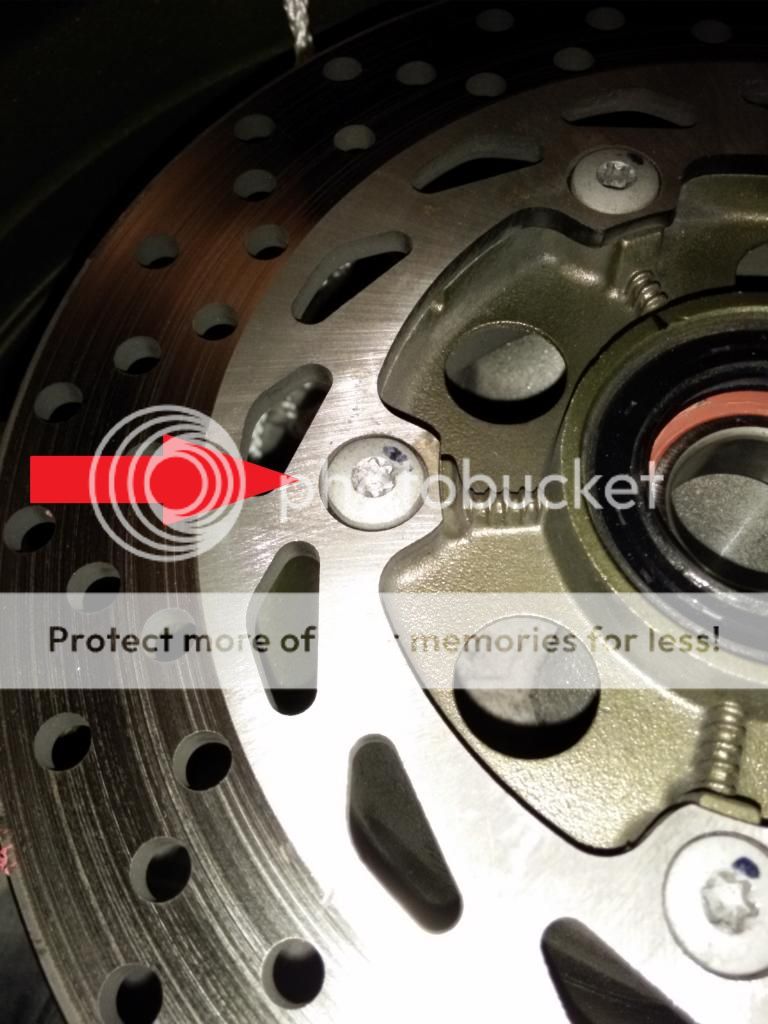
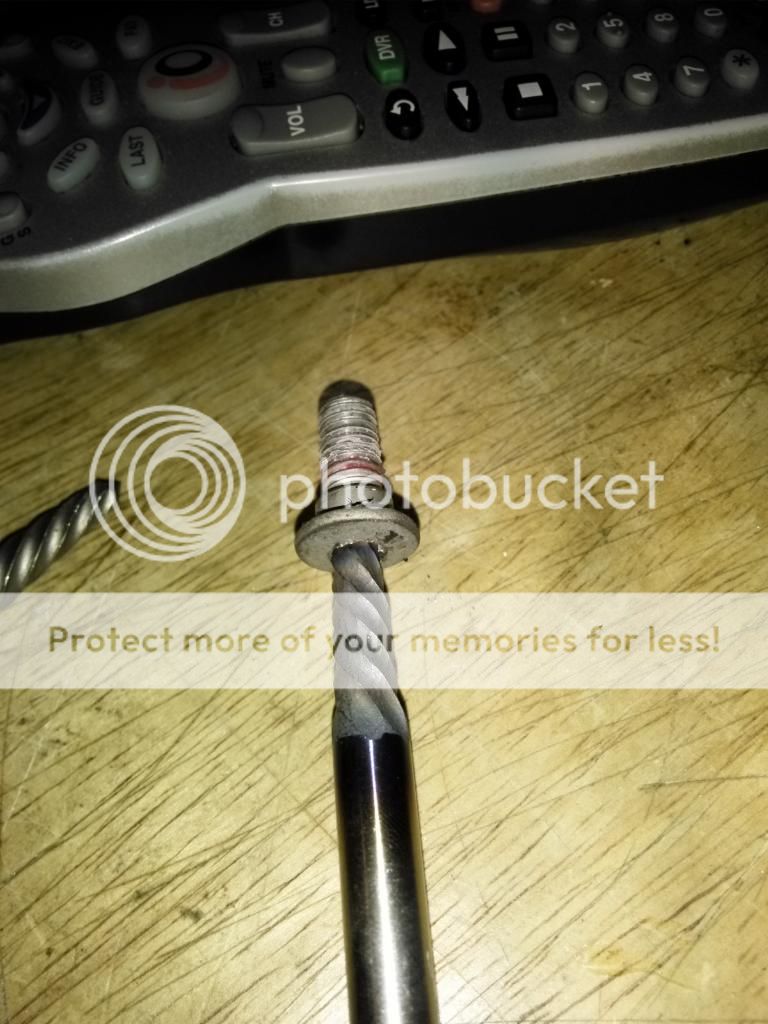
This was the first bolt that I snapped off the tip of the bit inside and wound up stripping the bolt head.
After snapping the two bits I had taken the wheel to a machinist but after he had the wheel for over two weeks and never bothered with it I decided to try it again. I ordered two more T40 Impact Bits with 1/2" Drive and picked up a new tank of propane. With advice from our very own Lonney and IBcivic, I used more time with the torch on each bolt head (45 seconds each), and sure enough they came out rather easily.
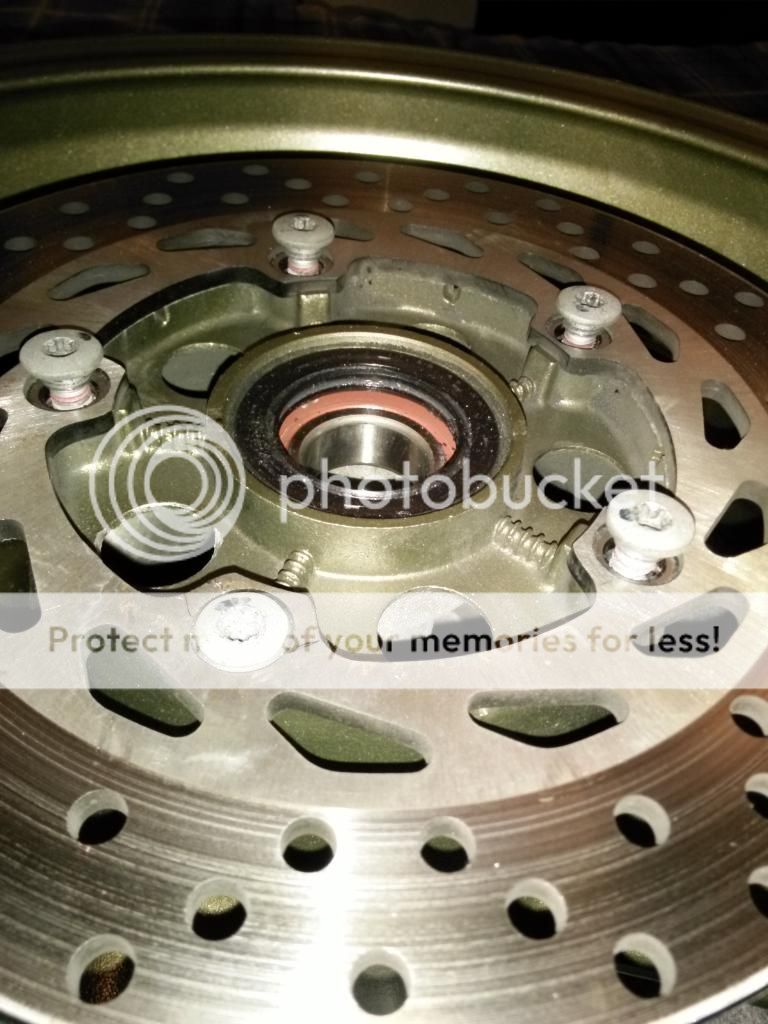
After loosening the rear rotor bolts with the exception of the stripped one, I turned the heat on the front rotors and removed both sides with ease.
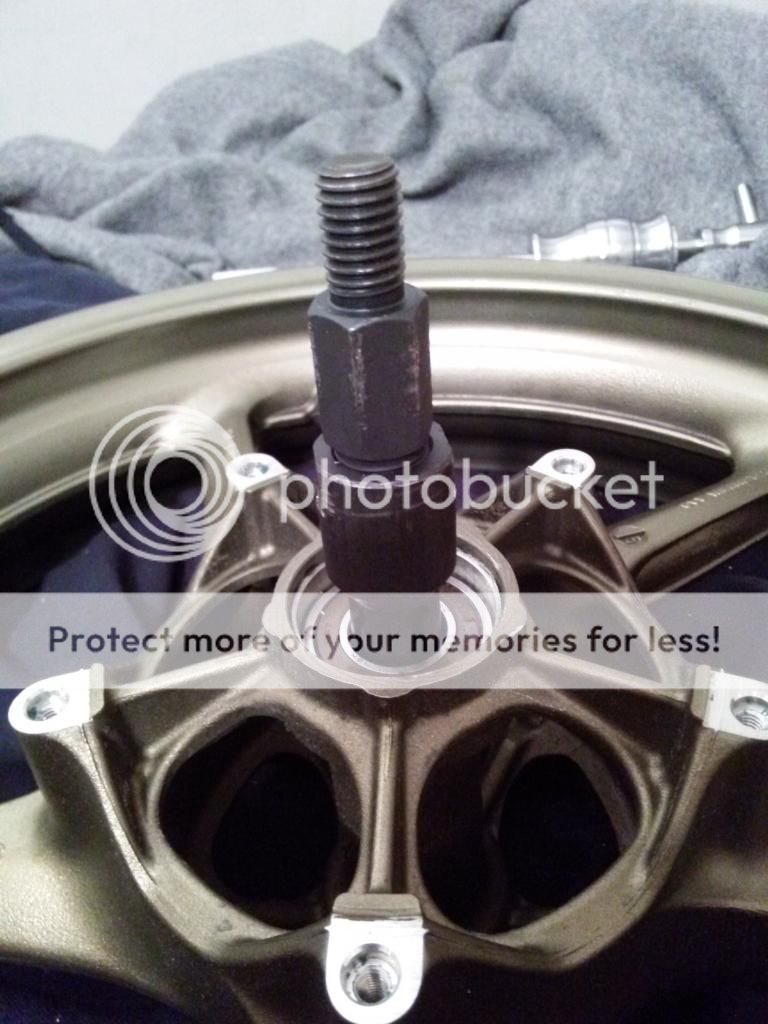
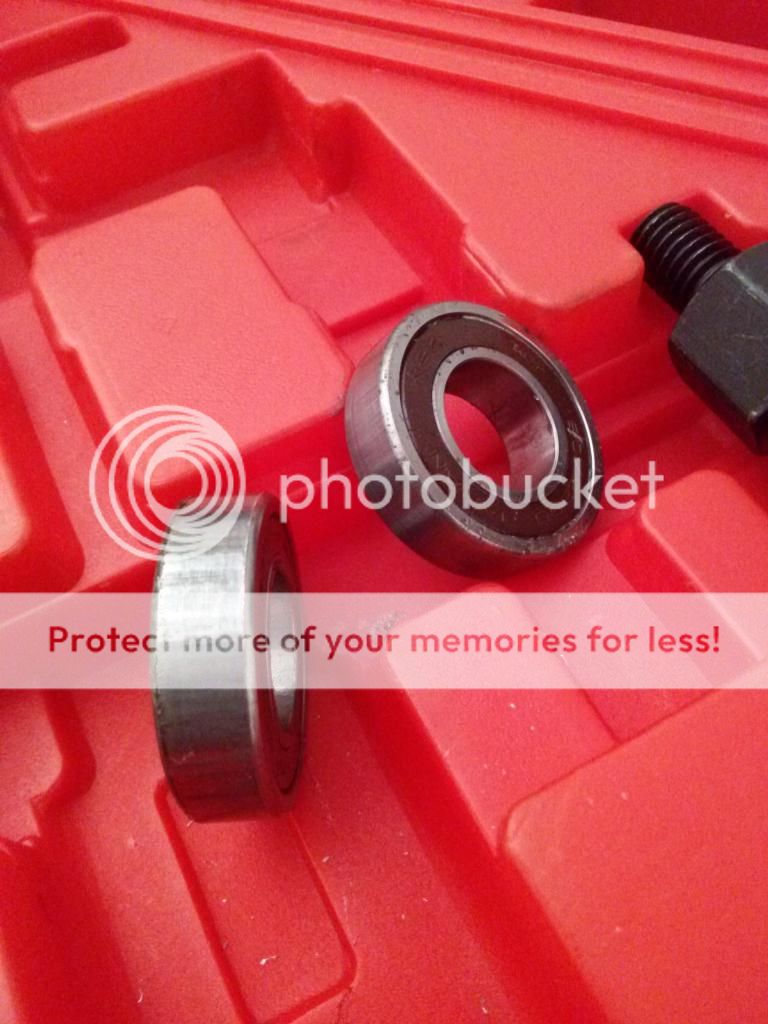
This evening I took out my Harbor Freight Easy Out Kit and drilled a 3/16" hole into the head of the remaining stripped bolt on the rear rotor. I used a large Tap Holder and inserted the Easy Out into the hole and twisted until it locked onto the bolt. Then I used the torch on the bolt head with the easy out inside and heated it up for just over a minute. I then took a long box wrench on one end of the tap handle for leverage and broke the last bolt free. Thank God!
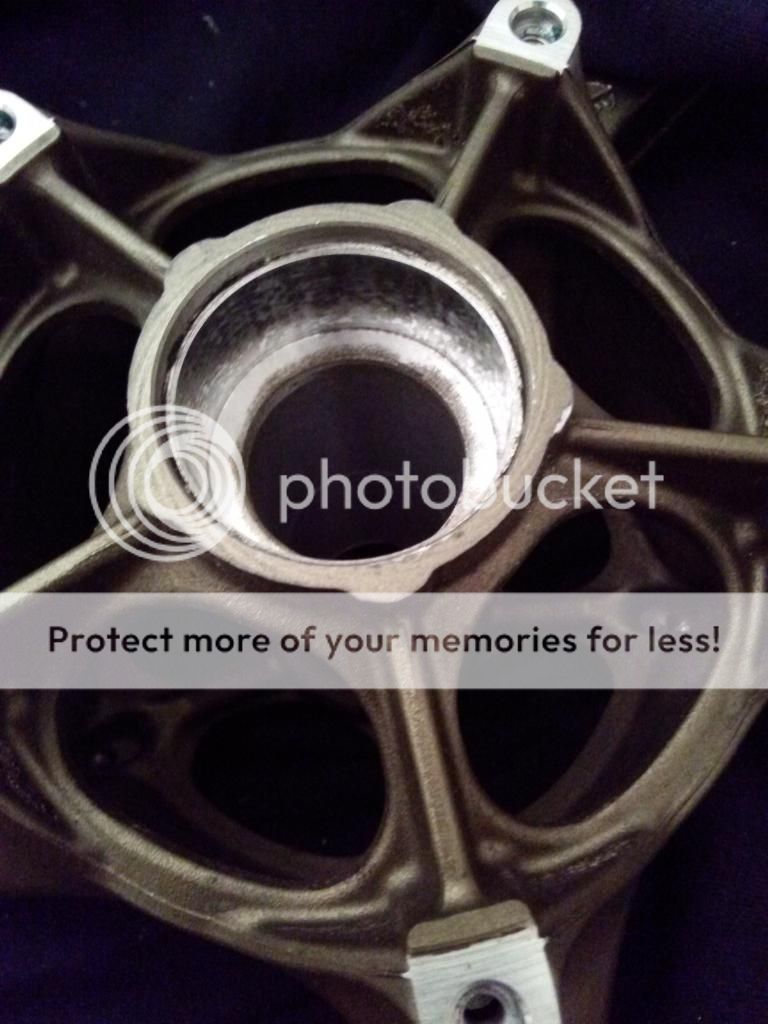
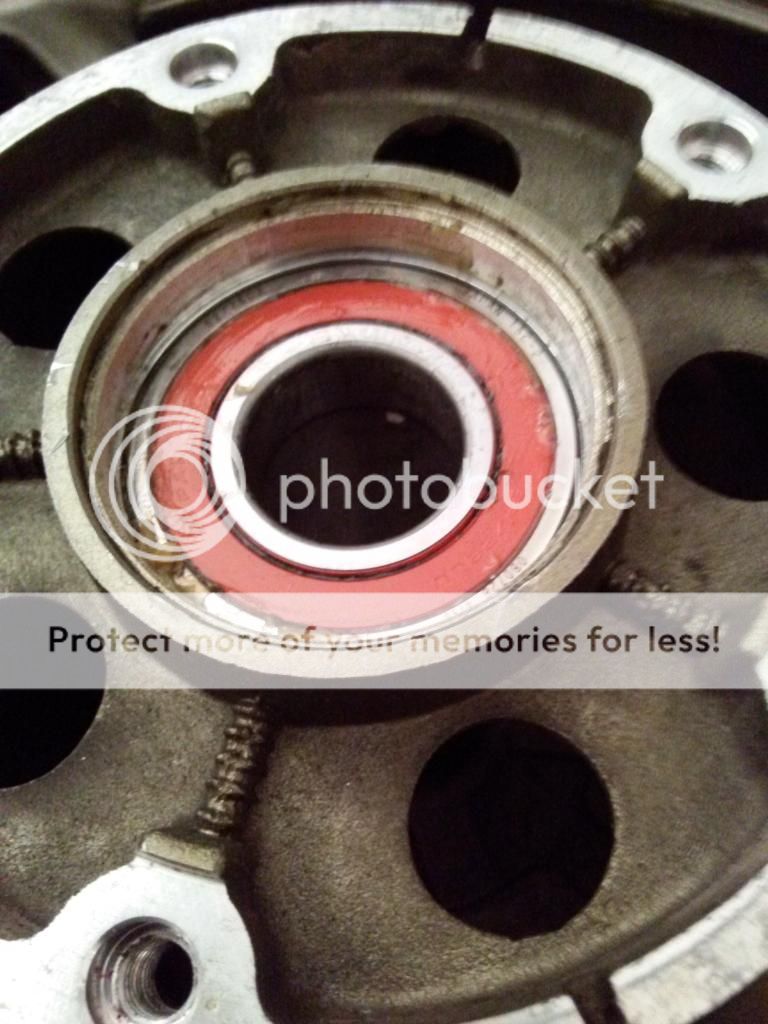
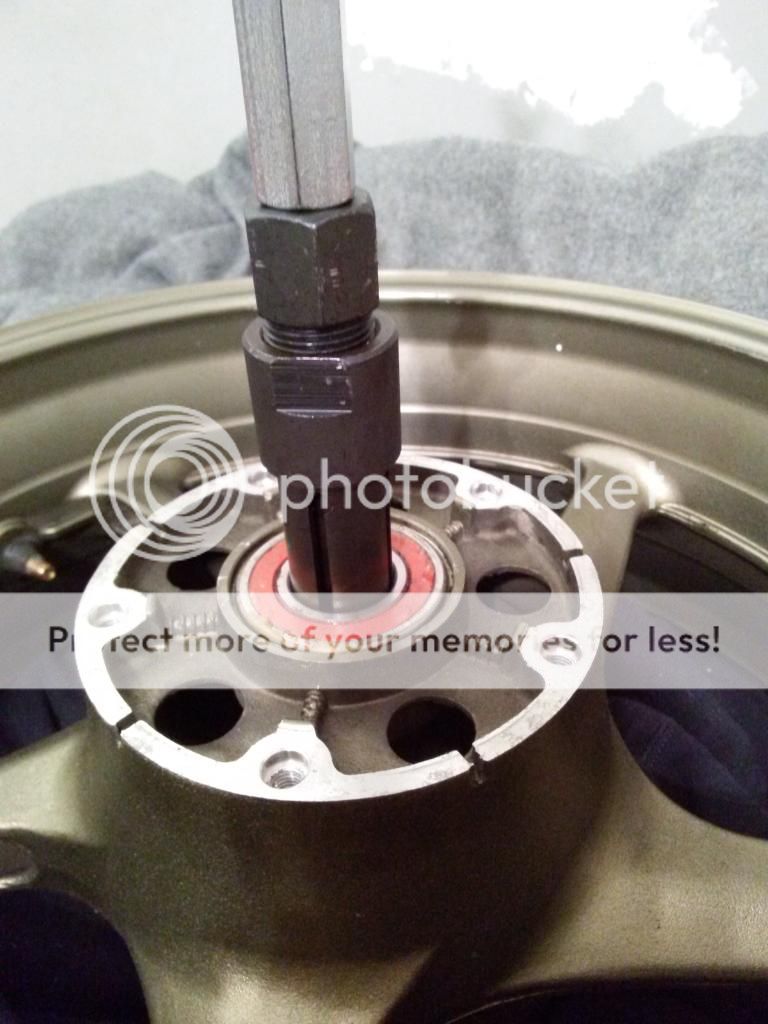
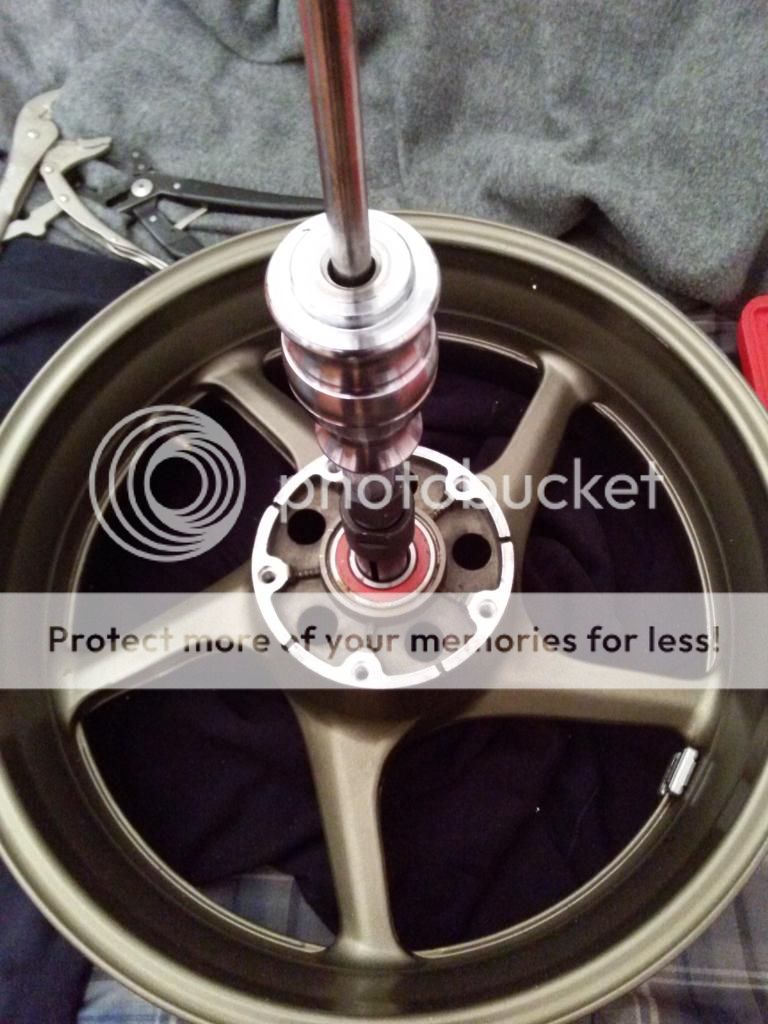
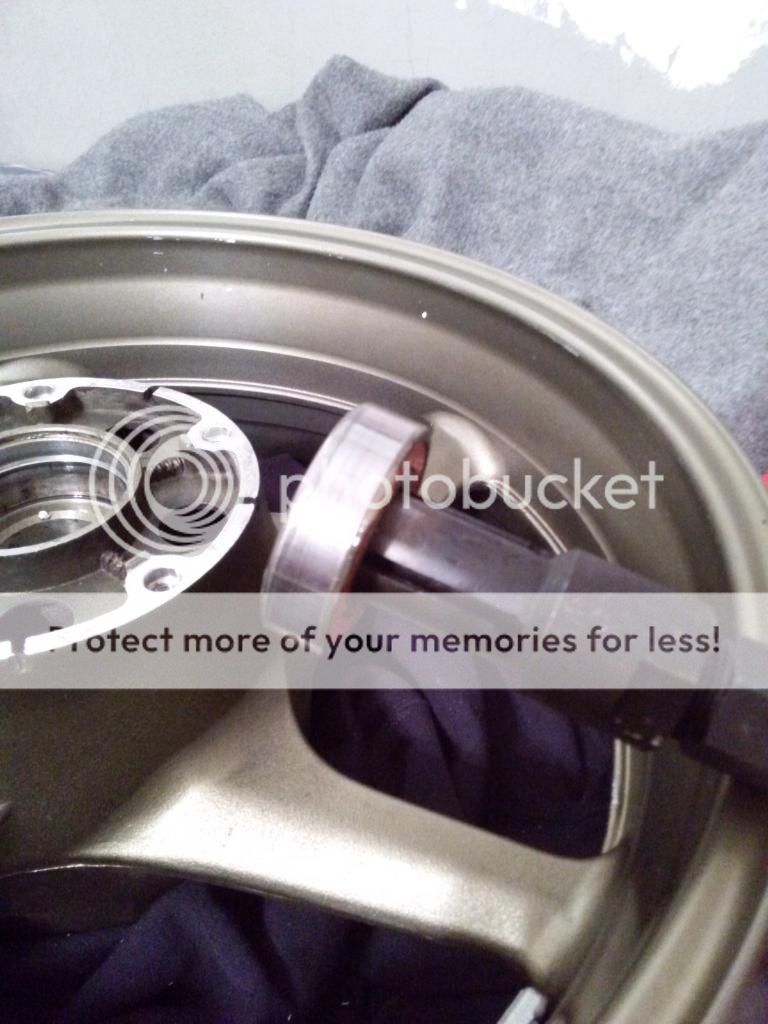
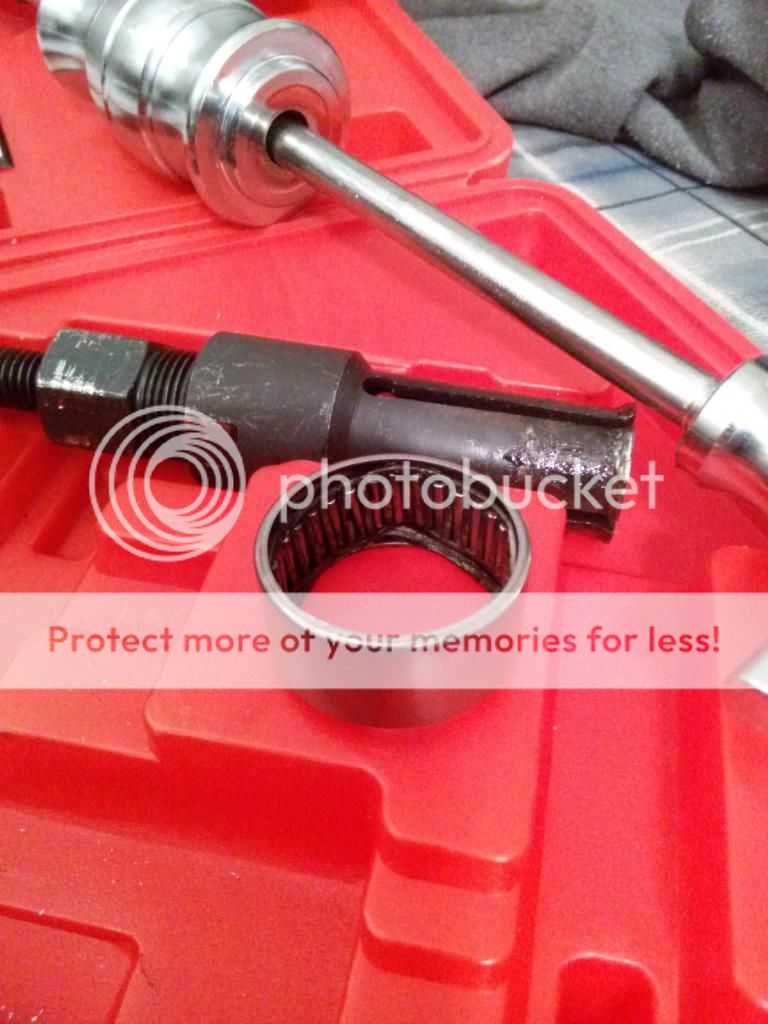
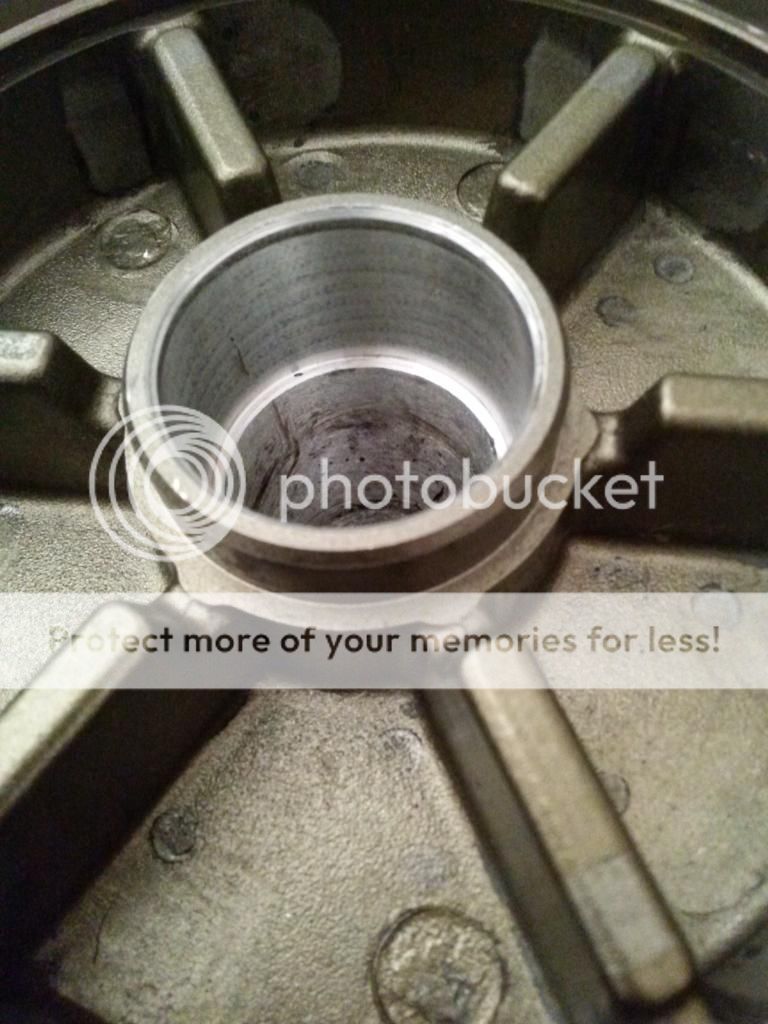
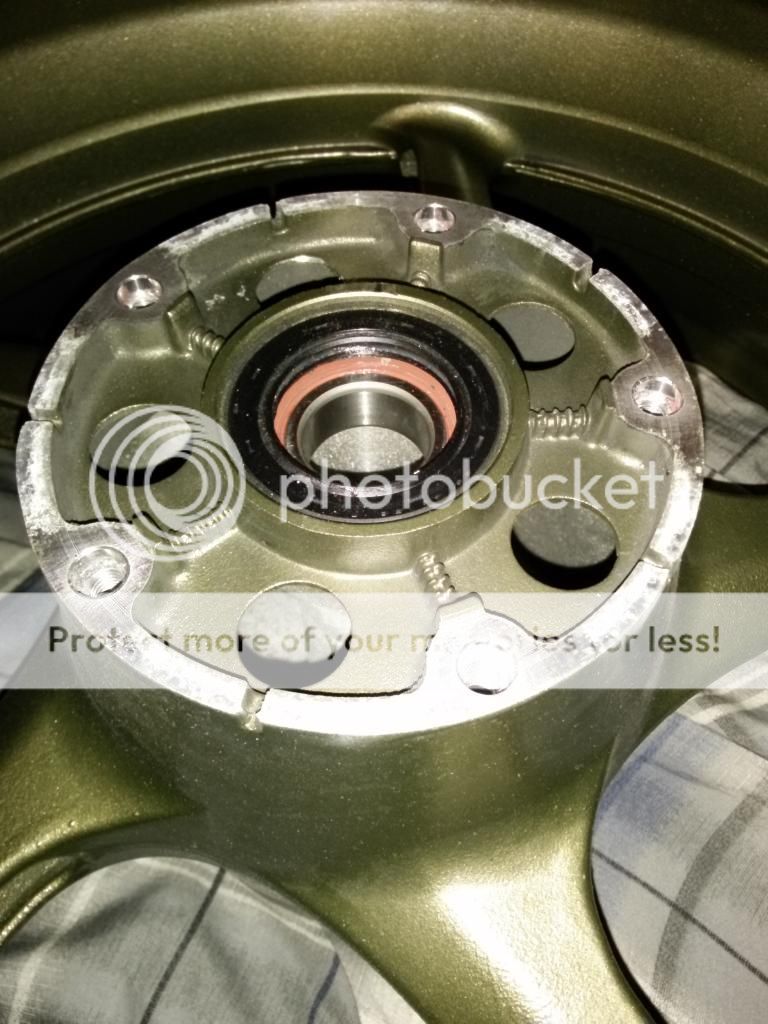
So I was happy to finally have all the rotors removed from the wheels. Now I just have to remove the bearings and I'll be ready to send the wheels to powdercoat.
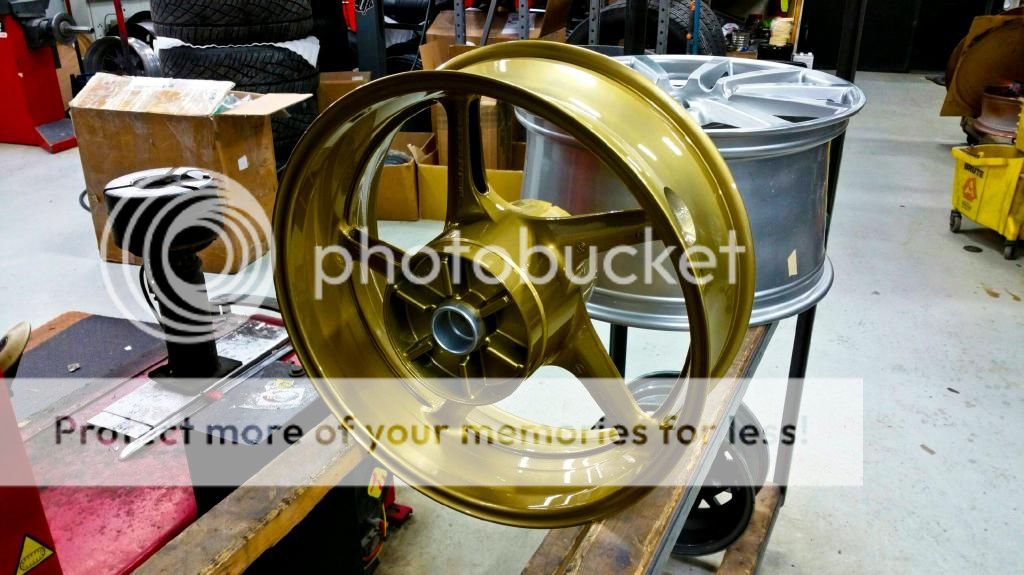
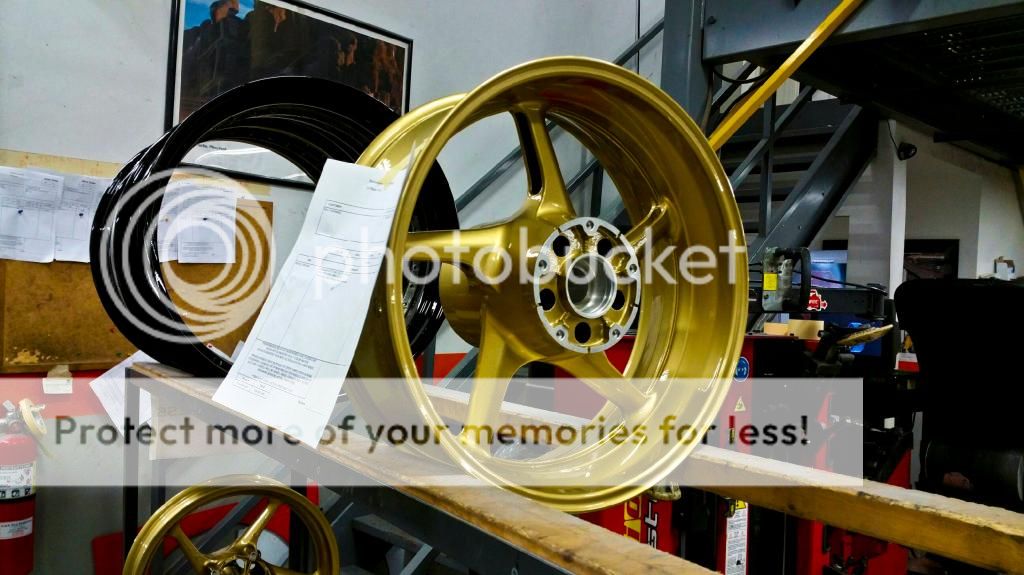
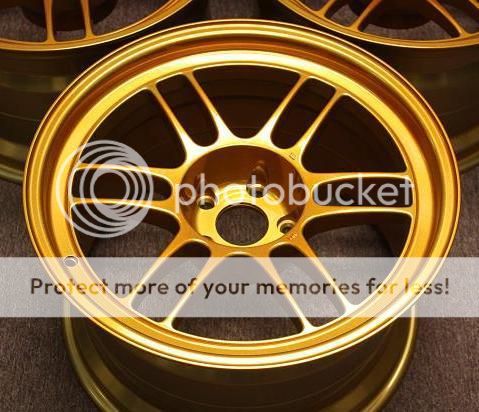
I'll be buying the set from IBcivic and getting those powdercoated as well. My wheels will be a spare set and will be a different color. I'm going with a rich Gold color which will be on the bike this season, and the other set I've decided will be Neon Green.
This is the Gold that I'll be getting done on the set from IBcivic
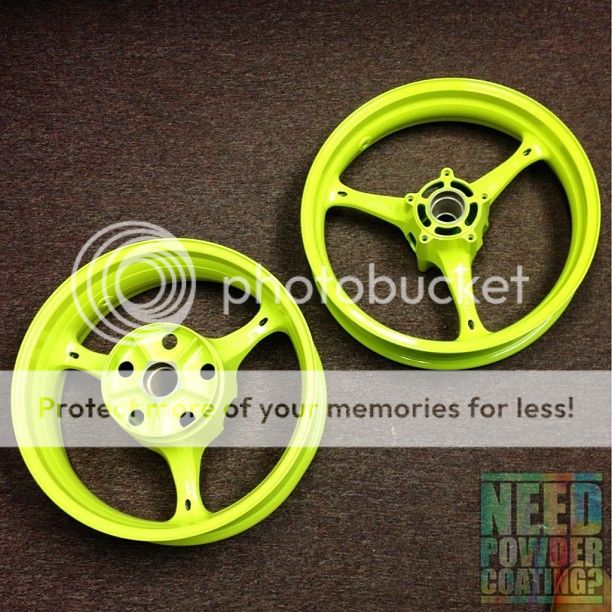
And this is the Neon that will be done to my existing wheels
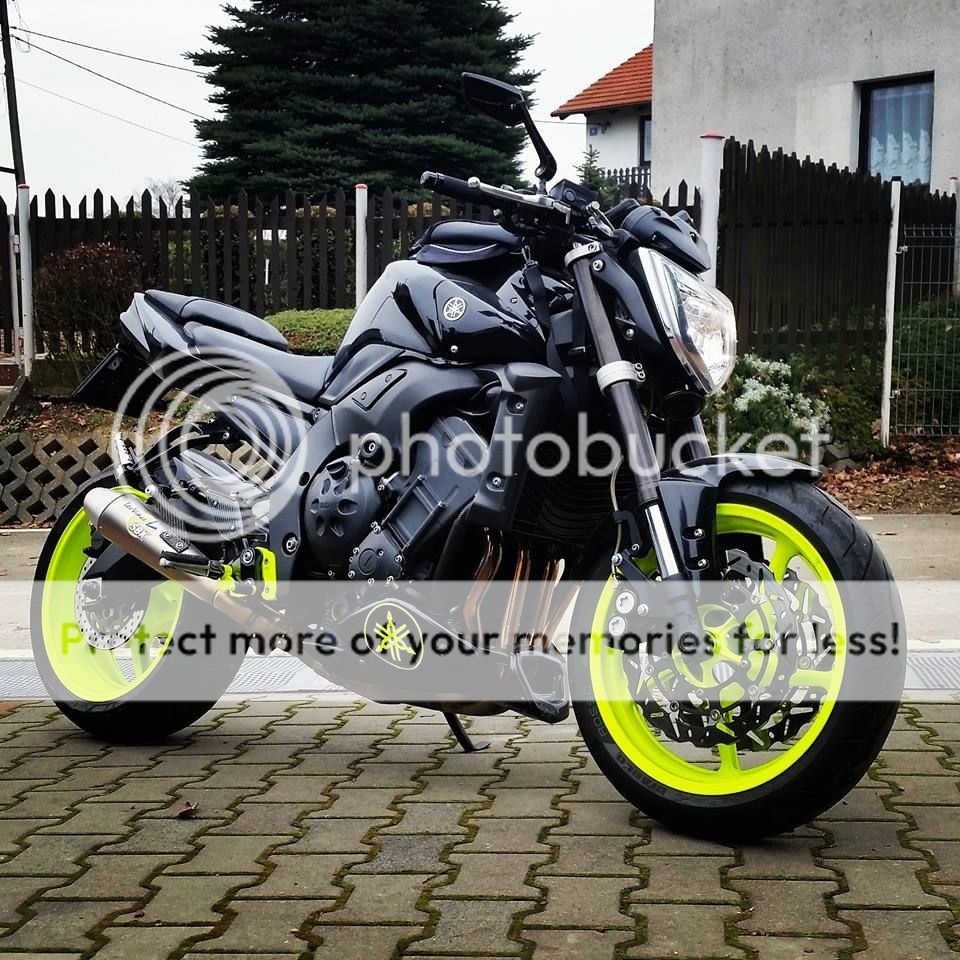
I know this color is not for everyone but once I saw this photo my mind was made up.
A big thanks for all the great advice that enabled me to get to this point. :Rockon:
So if your having issues with your rotor bolts like I did, the trick is lots of heat directly on the bolt head. At least 45 seconds to a minute straight. Also, a decent T40 Impact Torx Bit.
This was the first bolt that I snapped off the tip of the bit inside and wound up stripping the bolt head.
After snapping the two bits I had taken the wheel to a machinist but after he had the wheel for over two weeks and never bothered with it I decided to try it again. I ordered two more T40 Impact Bits with 1/2" Drive and picked up a new tank of propane. With advice from our very own Lonney and IBcivic, I used more time with the torch on each bolt head (45 seconds each), and sure enough they came out rather easily.
After loosening the rear rotor bolts with the exception of the stripped one, I turned the heat on the front rotors and removed both sides with ease.
This evening I took out my Harbor Freight Easy Out Kit and drilled a 3/16" hole into the head of the remaining stripped bolt on the rear rotor. I used a large Tap Holder and inserted the Easy Out into the hole and twisted until it locked onto the bolt. Then I used the torch on the bolt head with the easy out inside and heated it up for just over a minute. I then took a long box wrench on one end of the tap handle for leverage and broke the last bolt free. Thank God!
So I was happy to finally have all the rotors removed from the wheels. Now I just have to remove the bearings and I'll be ready to send the wheels to powdercoat.
I'll be buying the set from IBcivic and getting those powdercoated as well. My wheels will be a spare set and will be a different color. I'm going with a rich Gold color which will be on the bike this season, and the other set I've decided will be Neon Green.
This is the Gold that I'll be getting done on the set from IBcivic
And this is the Neon that will be done to my existing wheels
I know this color is not for everyone but once I saw this photo my mind was made up.
A big thanks for all the great advice that enabled me to get to this point. :Rockon:
So if your having issues with your rotor bolts like I did, the trick is lots of heat directly on the bolt head. At least 45 seconds to a minute straight. Also, a decent T40 Impact Torx Bit.