CrazyBiker
Wizard
Important thing here is patience with the wire routing.
Here is what is required:
Here is how the kit came:
Here are the step by step instructions:
Here is what is required:
- DDM Tuning H4 (Hi/Lo) 6000K 55W kit. I went for 55w based on the large size of FZ1 headlights. It turned out pretty good. If that is too much 35w will work well too. At the price $69.95, these are definitely worth getting compared to the $50 Silverstar Ultras that burn out in a year or so. Actually $17 ebay sixity ones were working much better. But then I am never satisfied till I get the best.
- Dual Lock Fasteners (much stronger than velcro or the double sided tape provided that leaves a residue if needed to be removed in the future) - Can be had from OfficeDepot/Max/Staples. Comes in black and weatherproof white. I used black one here.
Here is how the kit came:
- The Packaging
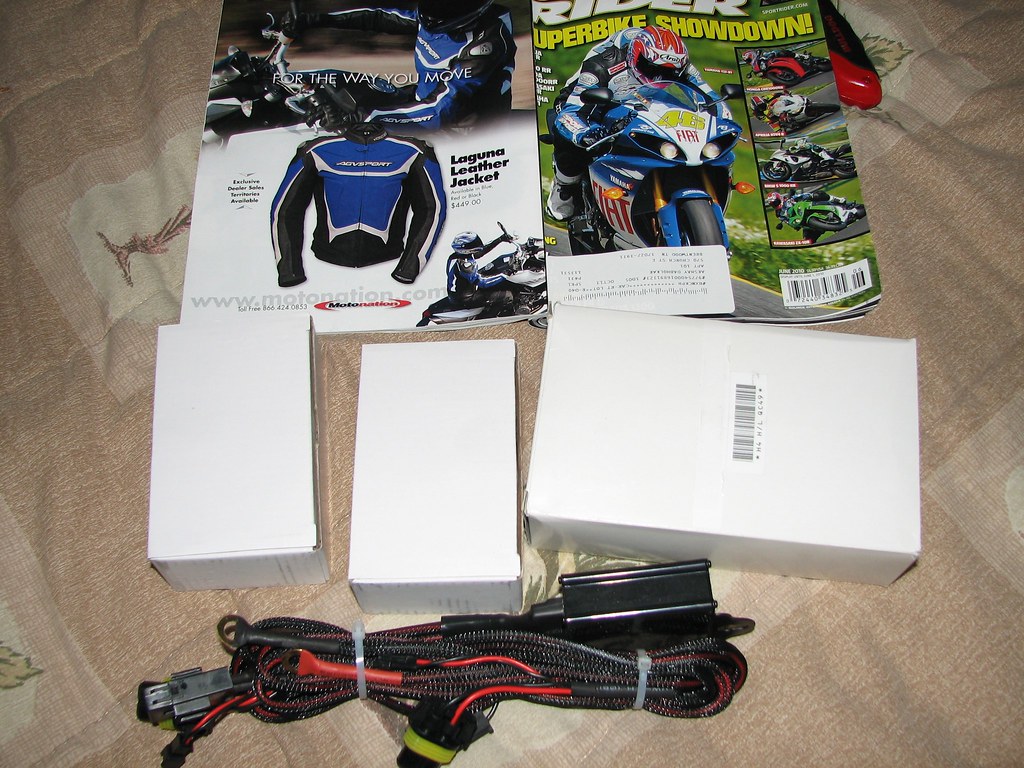
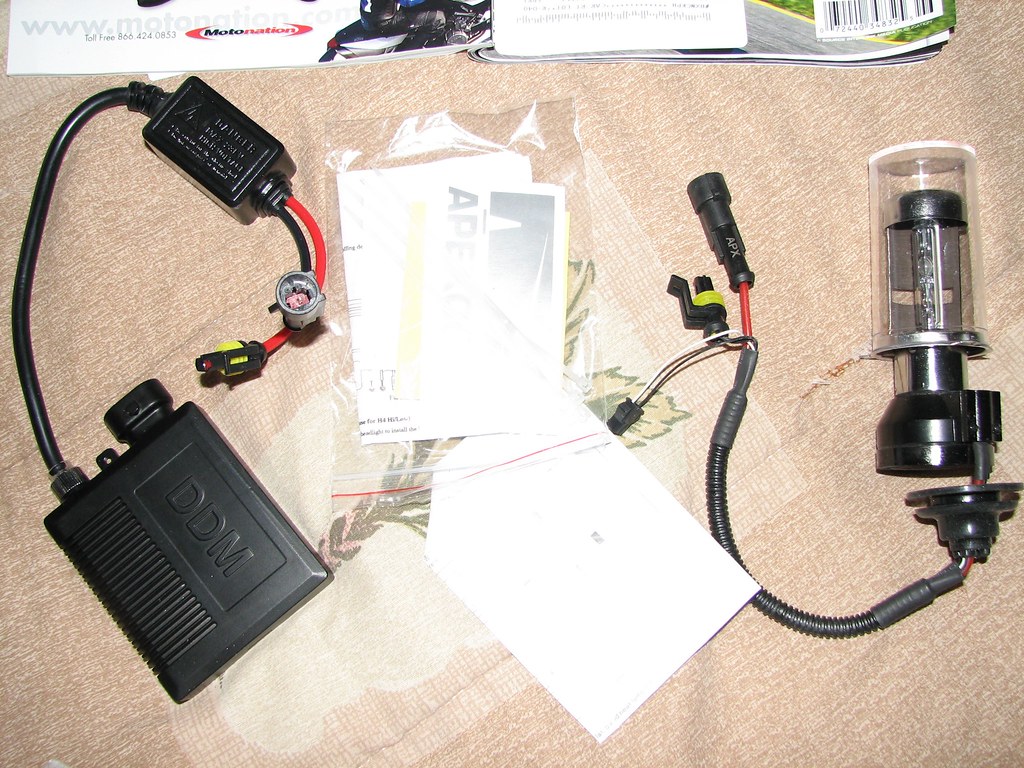
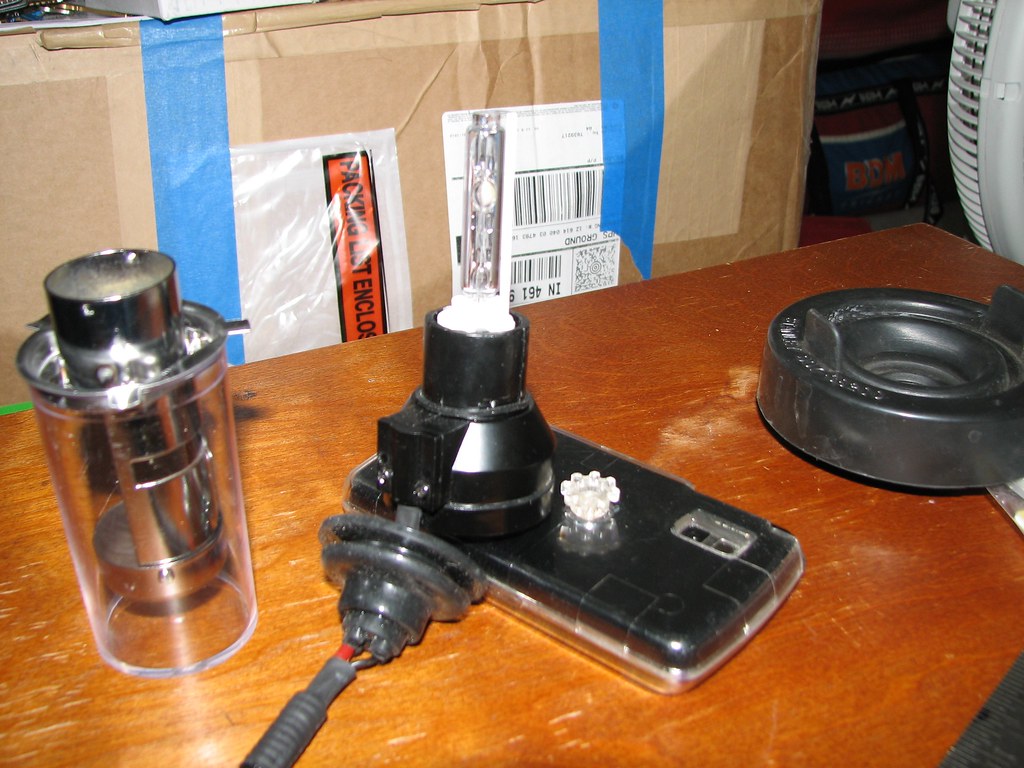
- The bulbs and Slim Ballast + Igniter
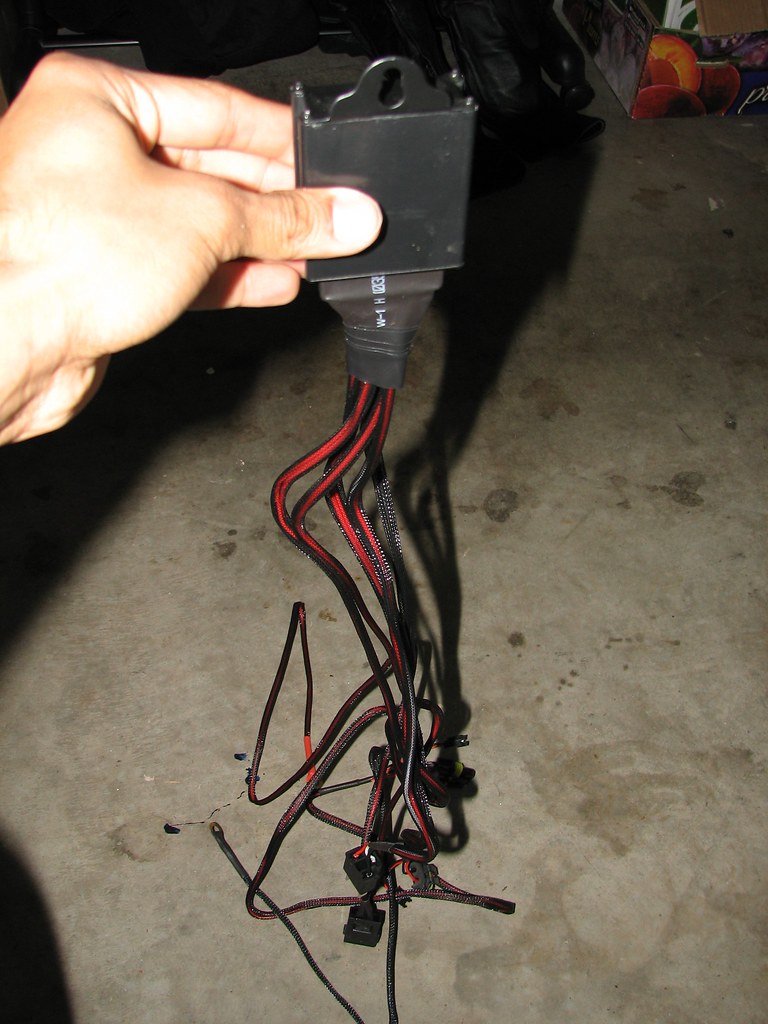
- The Hi/Lo Controller Switch (Very important and is included in the kit). Doesn't it look like an Octupus
? The switch has the following connectors:
- a small connection to each bulb harness,
- connection to one stock headlight socket connector,
- fused +ve and -ve connections to the battery,
- connectors to each ballast
Here are the step by step instructions:
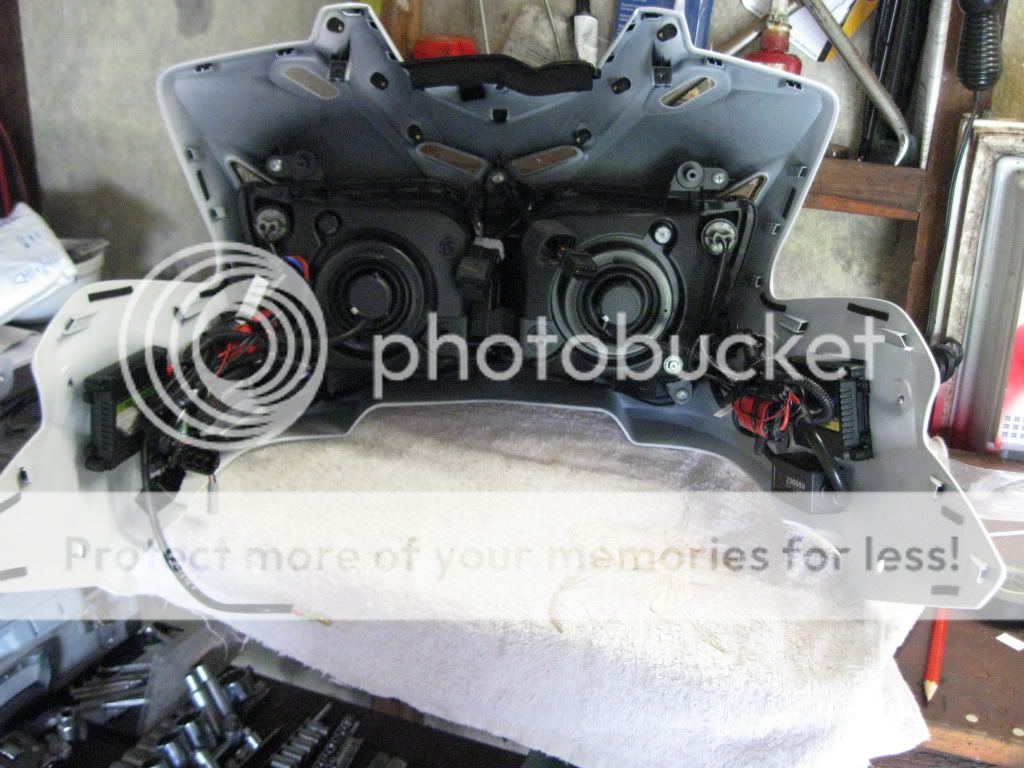
- Remove the inner fairings, tank cover, lift the tank by bungeeing it at the tail hooks.
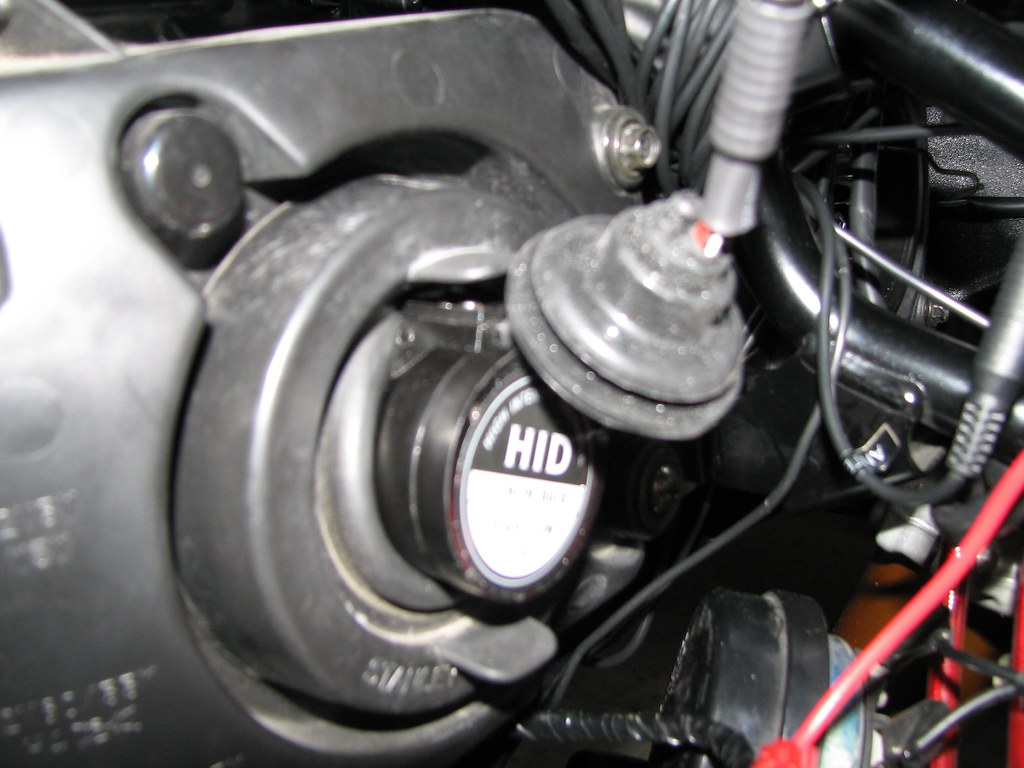
- Remove the stock waterproof rubber boot and the bulb
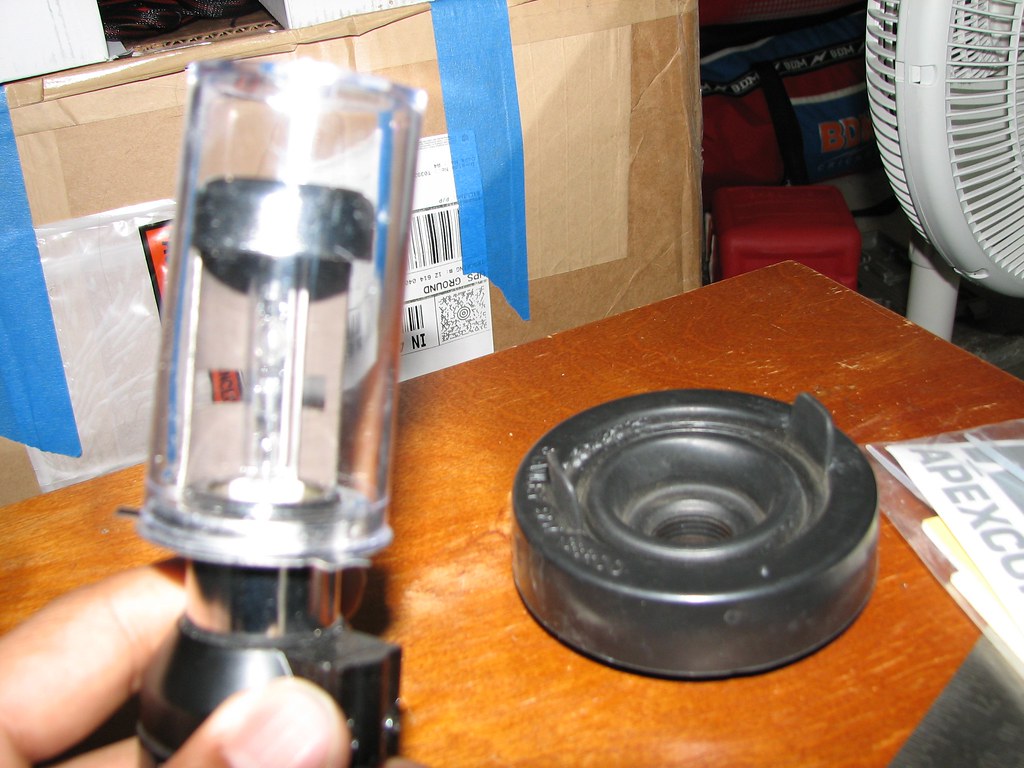
- Follow the instructions that came with the kit by removing the bulb holder from the H4 Hi/Lo bulb controller
- Rotate the bulb holder CCW and slowly remove the bulb out
- Carefully place the bulb as shown so that it does not fall off
- Put the bulb holder into the headlight and snap back the pin.
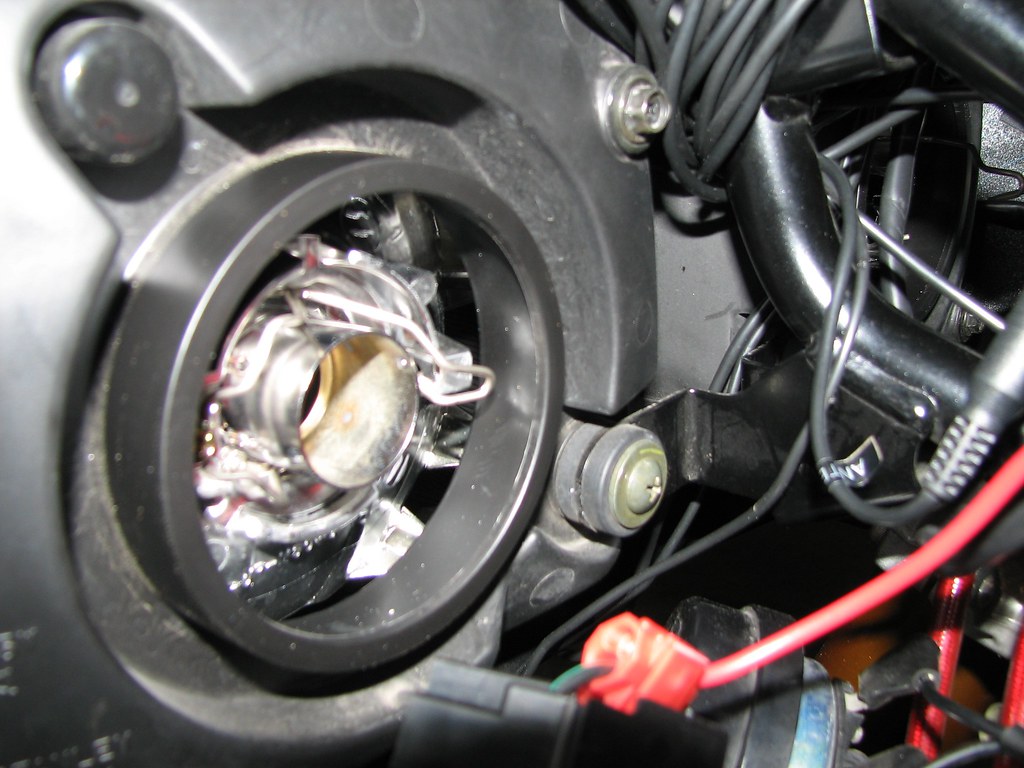
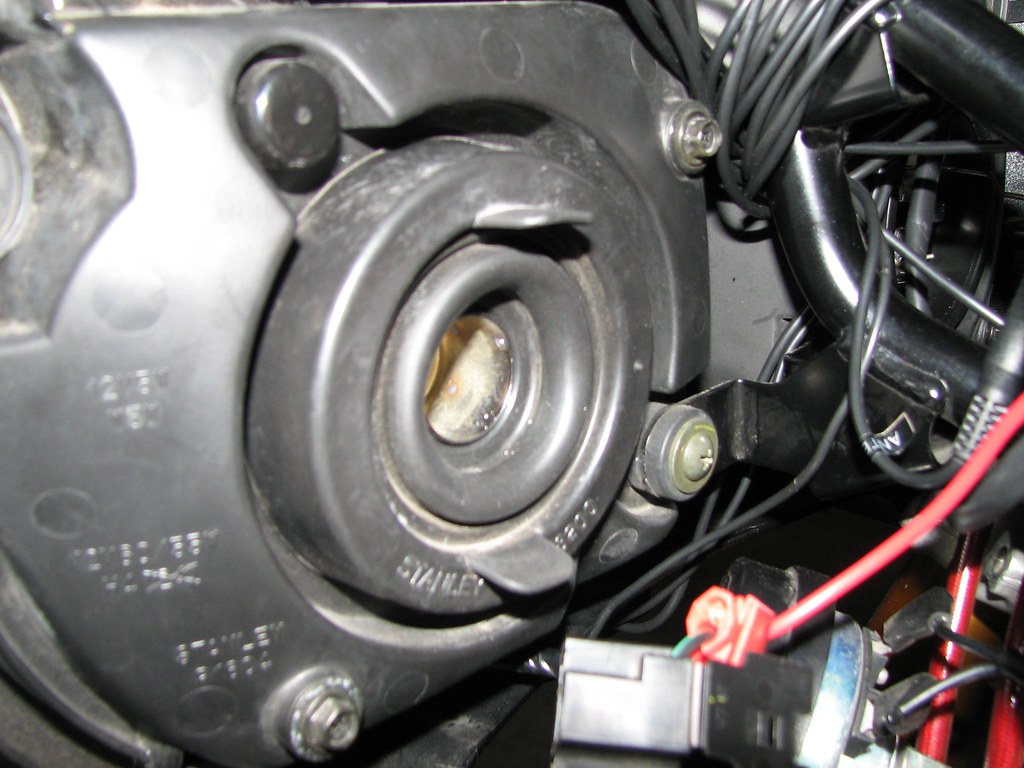
- Put back the waterproof boot in the same orientation as stock.
- You will need to 2 fingers to slide the boot over the holder.
- Carefully put the bulb without touching it and lock it CW.
- Put it at a slight left angle than the vertical and rotate right.
- Now install the right one similarly

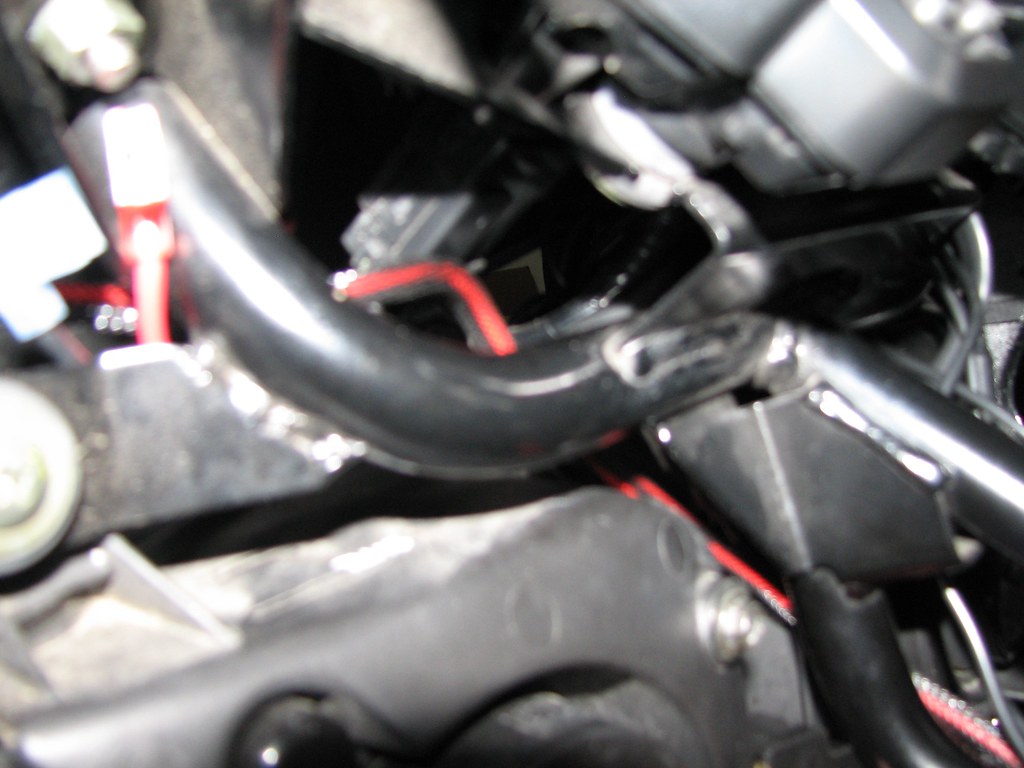
- Assemble the ballast to the bulb and route it so that the wires stay on the fairing side below the stock wiring.
- Use the dual lock fastener and find a spot in the fairing as away from the radiator as possible
- I used velcro for the small igniter attached to ballast since it is not that heavy. Just trying to conserve the pricey dual lock fasteners
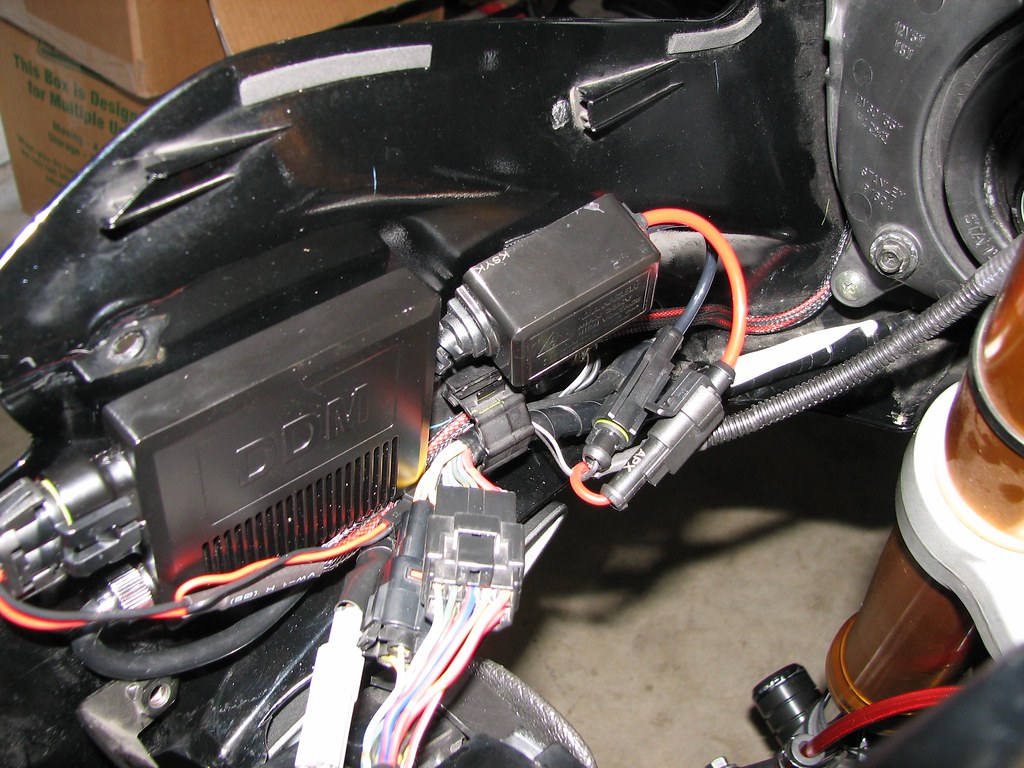
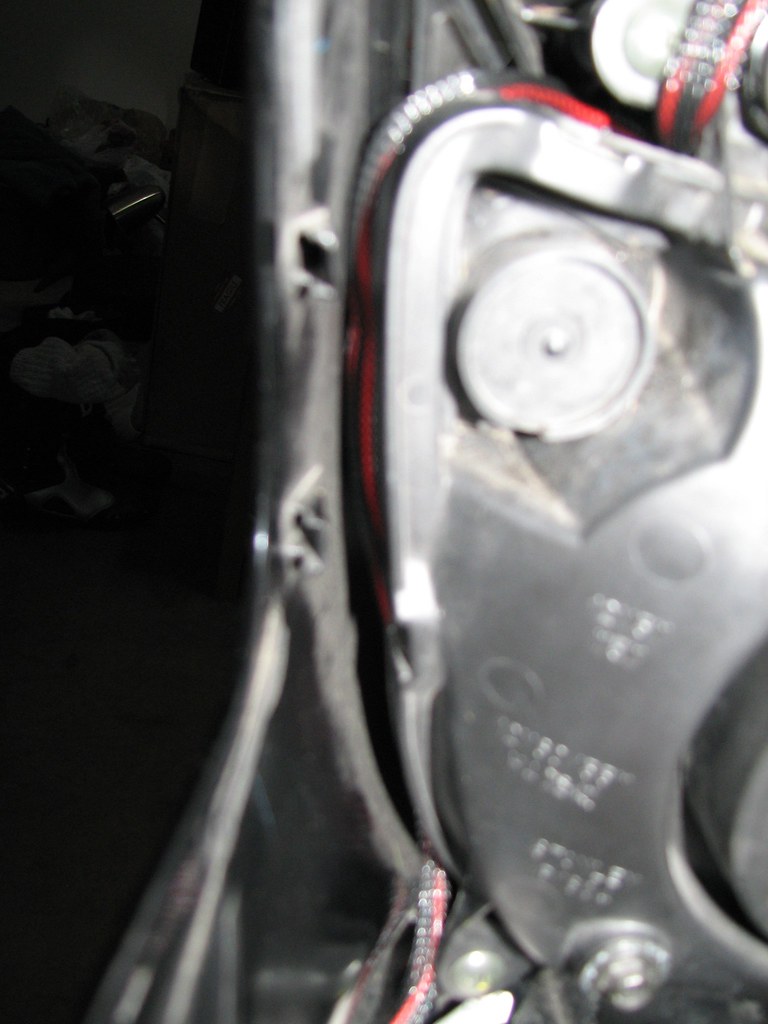
- Now trick part is the right side.
- Do the same as previous step except that you need space to mount the switch too.
- This switch is requried to control the Hi/Lo function and is included in the kit once you select the options. Single beam kits don't have them.
- Carefully see that the right side bulb socket is not needed since the switch is powered by just one headlight socket. I used the left one since that powers my heated grips too.

- Connect all the wiring as described.
- Connect the each of the ballasts to their respective HID bulbs, the switch to the ballasts and the bulbs, one of the stock connectors and directly to the battery
- Take some time to think out the routing taking into account the steering movement and nothing sticks out if you see from the top.
- I shoved most of it between the headlight stay and the headlight enclosure.
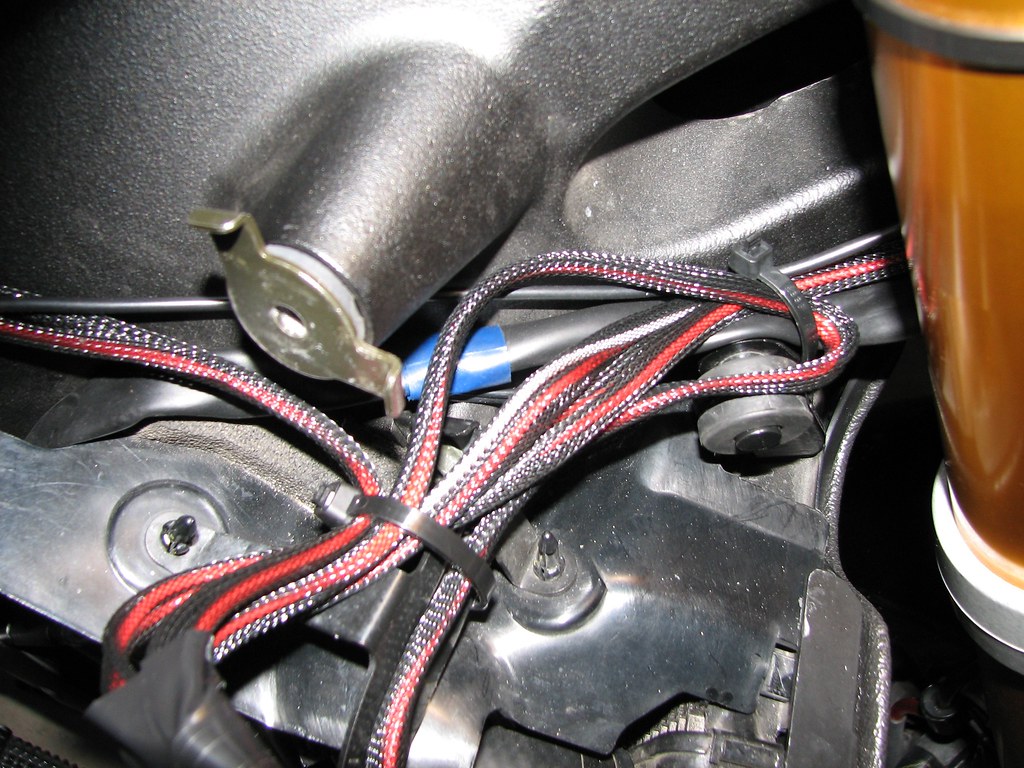
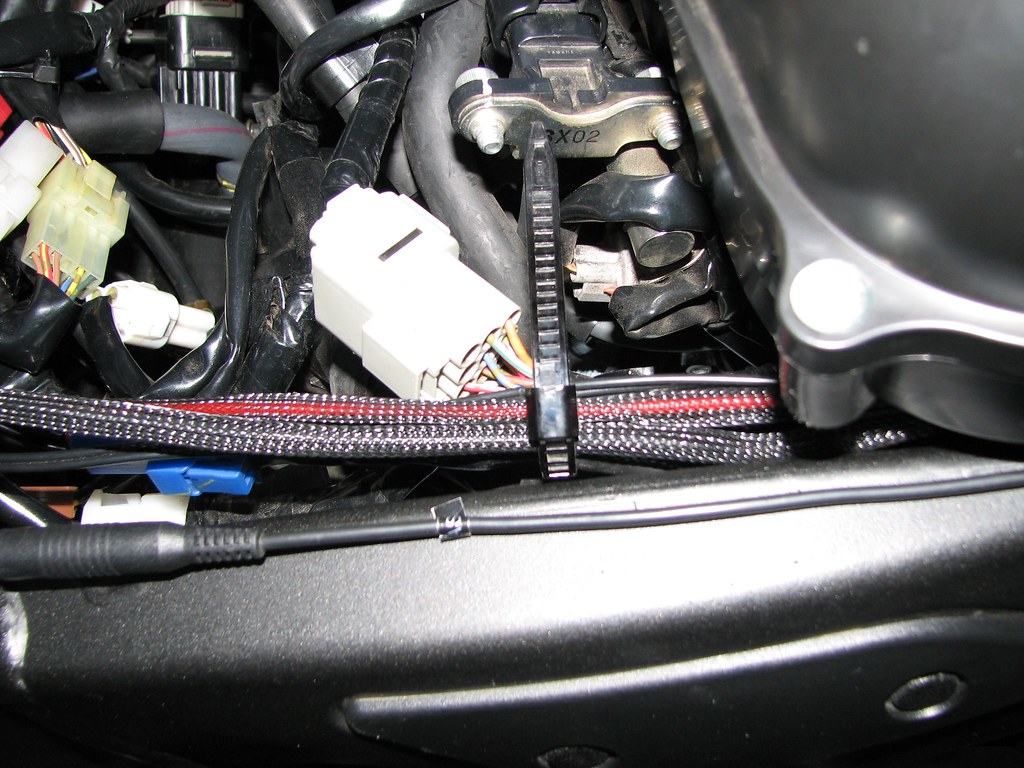
- Route the wires towards the battery as shown and connect them.
- Excuse me for the mess at the battery.
- I have powerlet, pc3, radar detector, HIDs, tender connetion running from the battery.
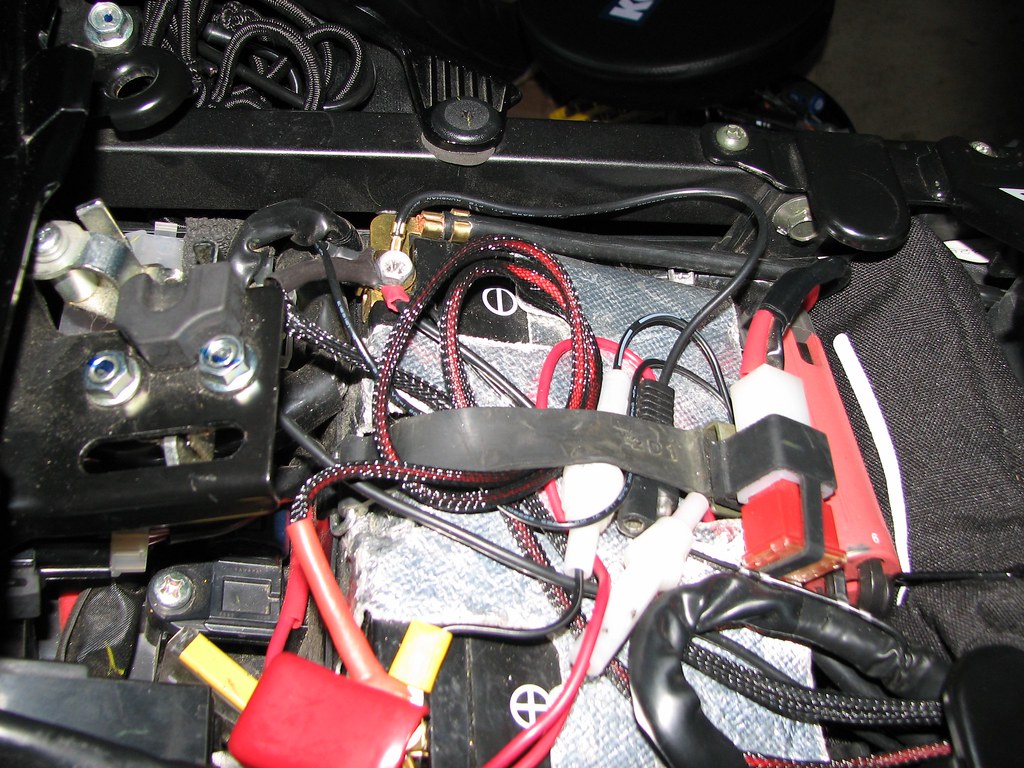
- Now zip tie everything in a way that it stays nice and tight and there is no slack.
- Fire the bike on and enjoi "The Midnight Sun"!
Last edited: