FZ1riderNY
Moderator
Now THAT, is a great write-up!! Excellent work! Thats gonna help out a lot of people here on the site. Thanks for the great pics!:cheers:
Follow along with the video below to see how to install our site as a web app on your home screen.

Note: This feature currently requires accessing the site using the built-in Safari browser.
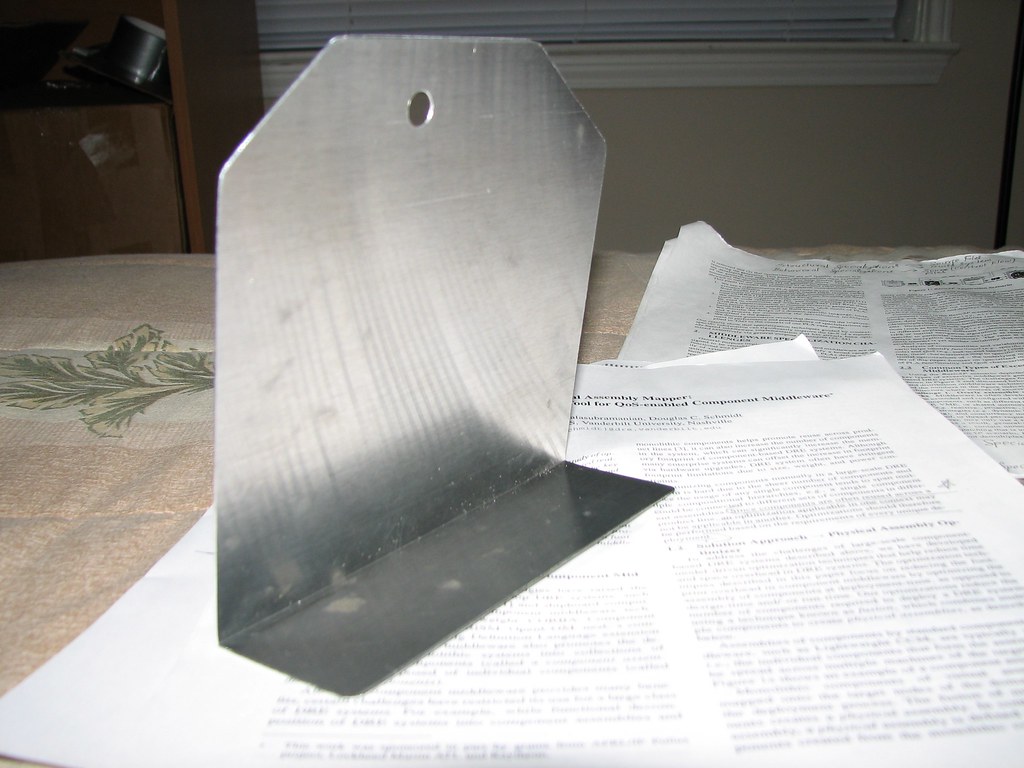
") PIC 77 CLOSEUP PIC 10 but I"m getting a little ahead of myself here...
PIC 77 CLOSEUP PIC 10 but I"m getting a little ahead of myself here...